A Card For All Occasions
Introduction
CodeBug can scroll messages so you can create a fun personalised card, that can be adapted for different occasions.
To tell CodeBug what to do, you need to give it a list of simple instructions. This list of instructions is known as a program.
You can use this website to create programs and you will be able to see them in action before downloading them and programming CodeBug.

|
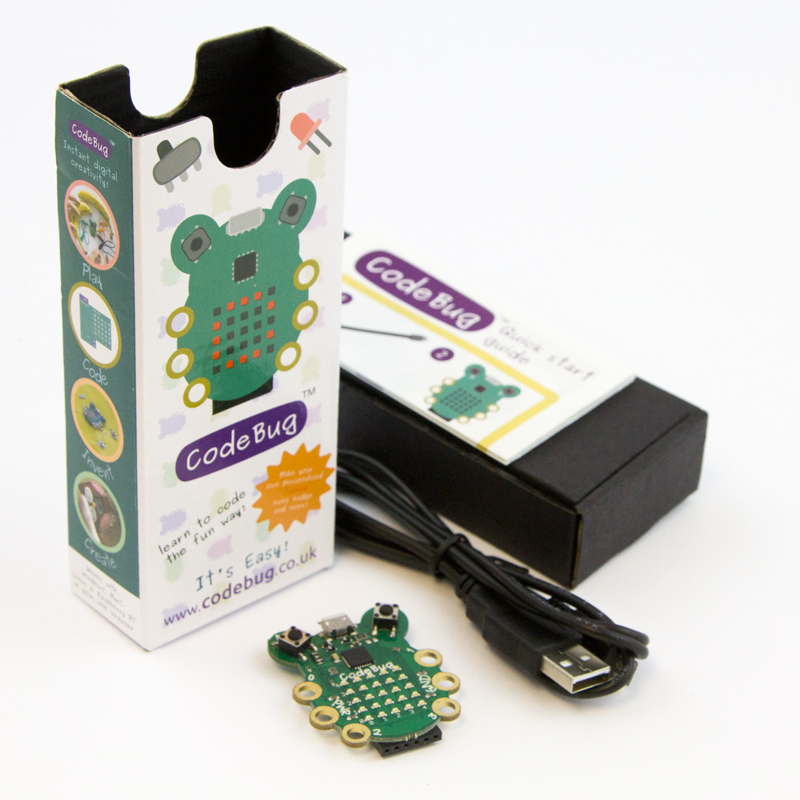
CodeBug | |||
| Micro USB cable | ||||
| Computer | ||||
| CR2032 battery | ||||
| Card | ||||
Scrolling text
CodeBug’s LED grid can display letters. If we move these letters from one side of the grid to the other, we can have another letter moving in after it.

It is easy to drag and drop a few blocks on the website to build a scrolling name badge program. Follow the tutorial below to get coding!
Tutorial
Plugging in CodeBug
Plug the Micro-USB cable into a USB-port on your computer. While holding down button A on your CodeBug, plug the other end of the Micro-USB into the socket on CodeBug. The LED in the top right of CodeBug’s LED display will flash when CodeBug is ready.

Top Tip!
Some USB cables only work for power and do not transfer data, you will not be able to use these to program CodeBug.Loading your program
Now CodeBug is connected to your computer, much like a USB memory stick, you can drag your program onto CodeBug. Find your downloaded program file, and drag or copy it into where CodeBug appears on your computer’s folders.

Reset CodeBug
Once your program has finished loading, reset CodeBug by pressing button B. Your program will now be running.

Button interaction
Let’s make CodeBug interactive, so that it responds to you pressing a button.

This can be done by adding a block to your program to wait until a button has been pressed. Follow the tutorial below to add this block and then download your new program to CodeBug again.
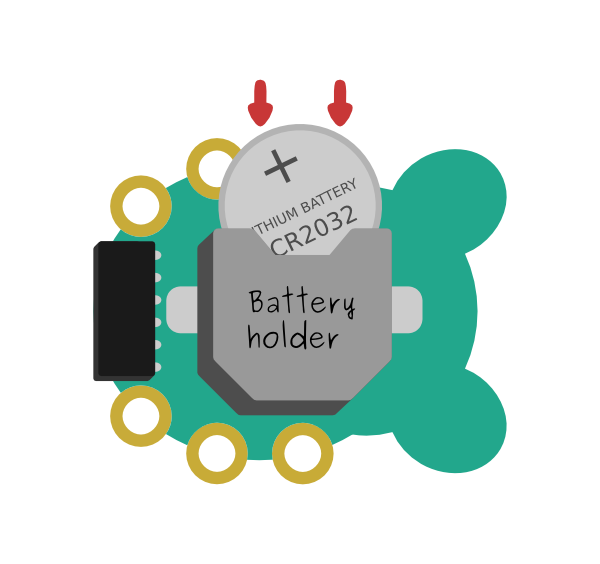
Powering by battery
CodeBug can be powered by battery so you can take it wherever you want! To power CodeBug by battery, first unplug the Micro-USB cable, do not worry as CodeBug will remember your program without being plugged in. Now slide in a coin battery (CR2032) with the positive (plus symbol) side up. Your program will begin running again!
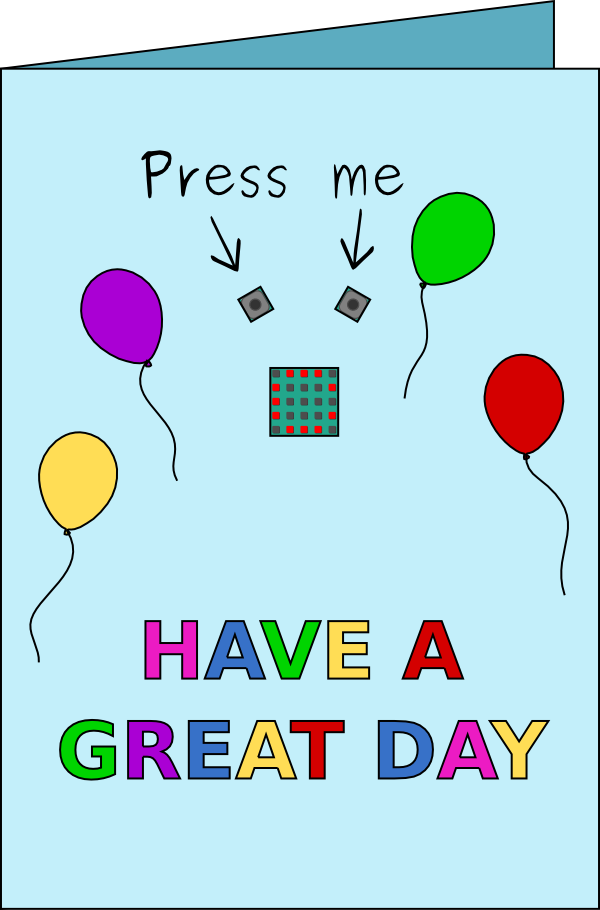
Making your card
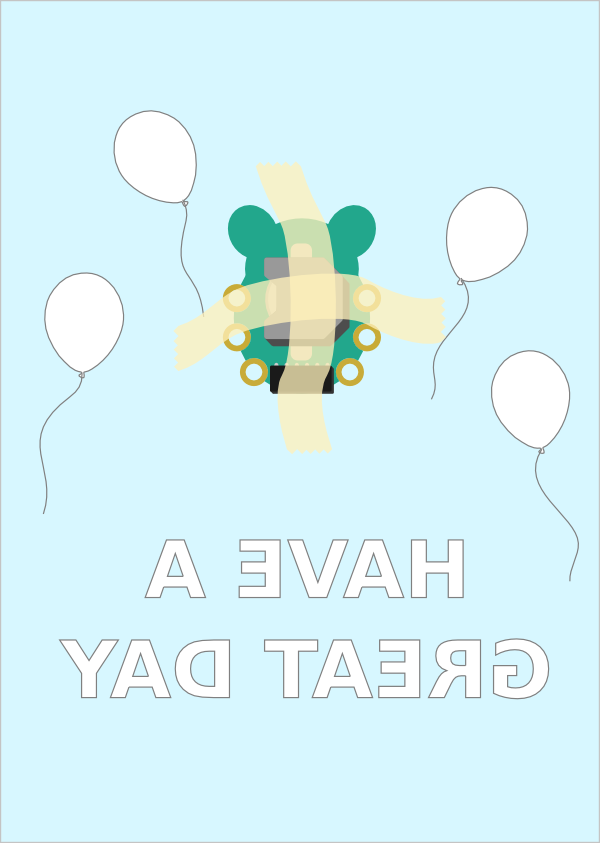
To make your card, download this template and print it out. Lightly tack the template to some coloured card with some sellotape and draw along the lines of the template, to indent the shapes into the card below. Remove the template and cut out the shapes on the card.
Now insert CodeBug’s buttons into the two little squares in the card, from the inside of the card. Put some sellotape on the back of CodeBug to fix it to the card.
Your card is finished! Grab some pens and decorate your new interactive card. You could even try cutting out the Great Day message and stick different coloured card behind each letter.