Glowbugs Wearables
Introduction
Creating fun wearable projects is easy with CodeBug GlowBugs. GlowBugs are connected to CodeBug by sewing conductive thread to CodeBug's legs.
GlowBugs give your CodeBug easy control of colourful lights that you can chain to control lots of GlowBugs from one CodeBug. They are really fun to play with and easy to use. The LED lights on GlowBugs are RGB (Red Green Blue) so they can produce any colour you can think of, by mixing different brightnesses of the Red Green and Blue light. GlowBugs can be sewn to fabric to create awesome wearables.

|
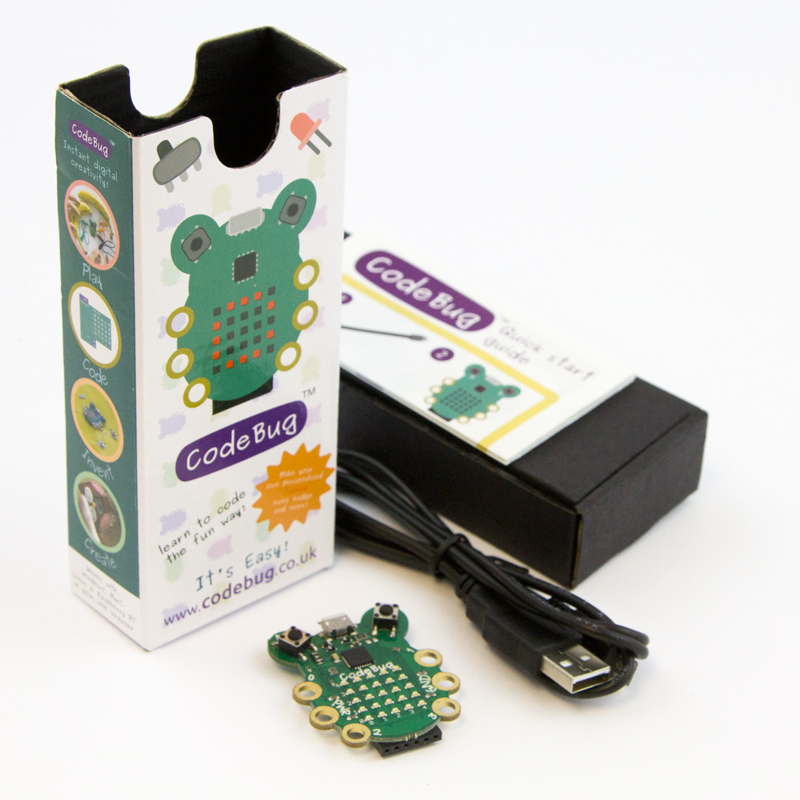
CodeBug | |||
| Micro USB cable | ||||
| Computer | ||||
|
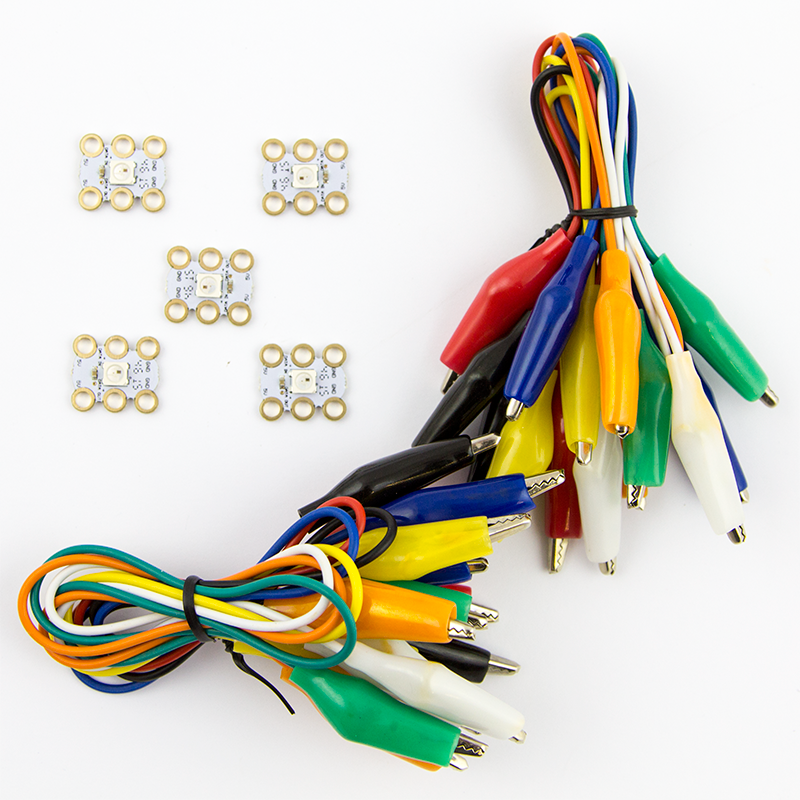
GlowBugs x5 | |||
| USB battery pack | ||||
| Conductive thread | ||||
| Needle | ||||
| Jumper | ||||
Controlling your GlowBugs
There are special blocks to control your GlowBugs that set the colour of the GlowBug you want.

Follow the tutorial below to write your GlowBugs program.
Tutorial
How to connect GlowBugs
When you sew CodeBug and your GlowBugs together with conductive thread, this is how you will connect them. Attach GND on CodeBug to GND on the left side of the GlowBug, repeat this for PWR from CodeBug to the 5V on the left side of the GlowBug. Connect leg 3 on CodeBug to the DATA IN leg on the GlowBug. You can connect more GlowBugs to the chain by connecting the right side of the previous GlowBug to the left side of the next GlowBug, as shown in the picture below.

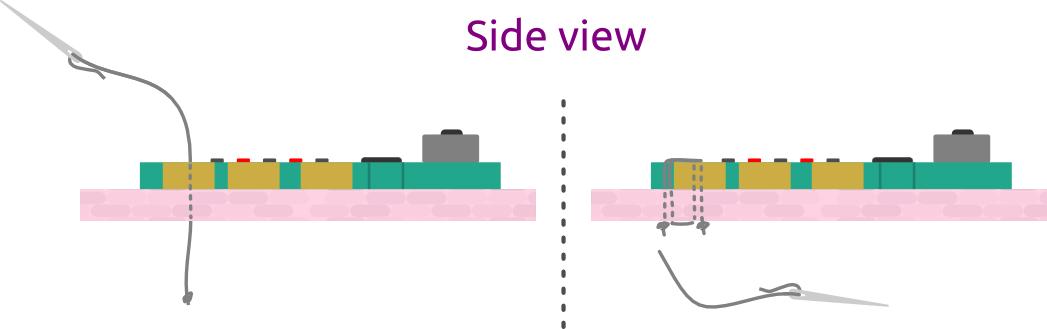
Sewing your CodeBug and GlowBugs
CodeBug and GlowBugs have legs that can be sewed to. First lay out your CodeBug and GlowBugs in a nice pattern so you know where to sew each one.
To secure your GlowBugs and CodeBug to fabric, tie a knot in one end of the conductive thread and then thread the other end of the thread through a needle. Place your jumper onto a flat surface and hold your CodeBug in place. From inside the jumper poke the needle up through the jumper and through a leg of CodeBug. Repeat this a couple of times so that the leg is secured to the jumper, then sew to the corresponding leg on your first GlowBug (refer to previous section of this guide for connection details). Loop a few times through the leg on the GlowBug then on the inside of the jumper, loop around the thread you have already sewn and then create a knot by looping the needle over and under the thread you have just laid. Gently pull this knot until it is tight, then cut the thread.
Repeat this process for all of the legs on your GlowBug. Sew the next GlowBug in the same way, having them connect to the right side of the previous GlowBug in the chain.

Powering your GlowBugs
Your CodeBug and GlowBugs can now be powered by a USB battery pack. Unplug your Micro USB cable from your computer and plug it into a battery pack that you can place in your trouser pocket.

You can now add more decorations to your jumper to make sure you stand out from the crowd.
What next?
Think of other ways you can use CodeBug GlowBugs Tails as wearables. You could try using conductive thread to add extra LEDs and buttons to CodeBug's legs, click here to see how.
Using popper buttons you could make the GlowBugs CodeBug detachable from the jumper so that the jumper can be washed.