Popper Fastener Wearables Badge
Introduction
Using CodeBug for wearable projects is great fun, though it does mean sewing your CodeBug in place (which is awkward if you need your CodeBug for another project). By soldering popper fasteners to your bug and sewing the opposite pieces to your clothing.

|
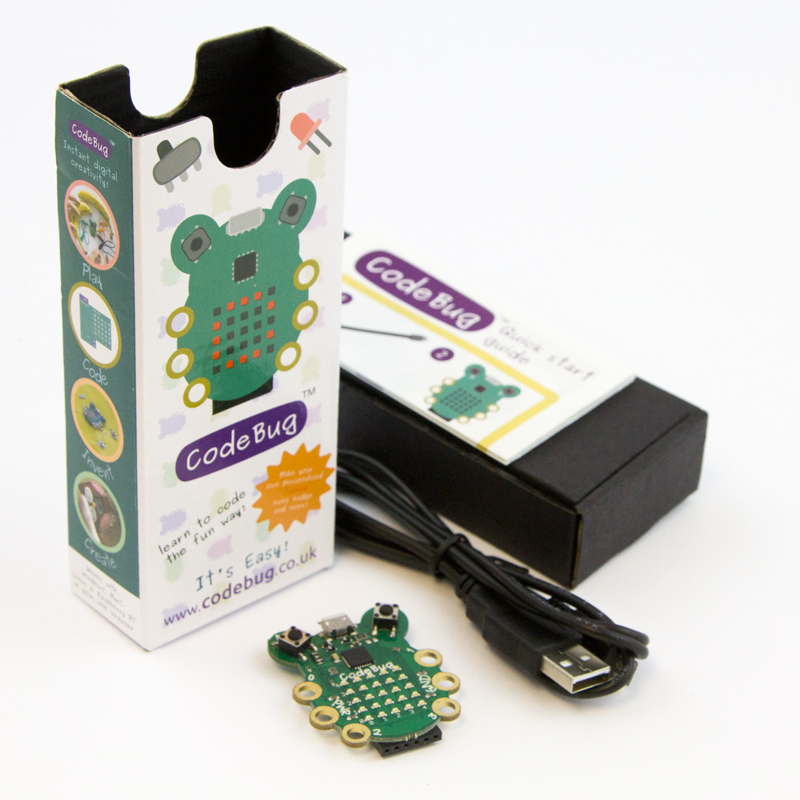
CodeBug | |||
| CR2032 battery | ||||
| Popper snap fasteners | ||||
| Conductive thread | ||||
| Needle | ||||
| Scissors | ||||
Soldering your popper fasteners
Get an adult to help you solder the pointy piece of each fastener to the backside of your bug’s legs (leaving the leg 1 without a fastener so the battery can still be removed), with the knobbly side facing away from the bug. Try to get them centered around the hole of the leg (so you can swap CodeBugs with your friends’ and they will all fit).

Sewing your popper fasteners
Get a felt tip and colour just the tip of the popper and before letting them dry, gently push them onto your fabric where you want your CodeBug to be sewed to. Make sure you can see the mark left by each of the five poppers.

Take a flat end popper and place it on one of the pen marks on your fabric. Get an adult to help you to sew one of the poppers onto your fabric with conductive thread.

Repeat this with the remaining four poppers.

Fitting your CodeBug
Now you can gently plug your CodeBug into your wearable CodeBug popper docking station! Be careful not to put your CodeBug on the wrong way round, as this could cause problem.

What next?
Follow the wearables guide to add wearable buttons and LEDs to your CodeBug popper project, sewing to the poppers instead of CodeBug’s legs.