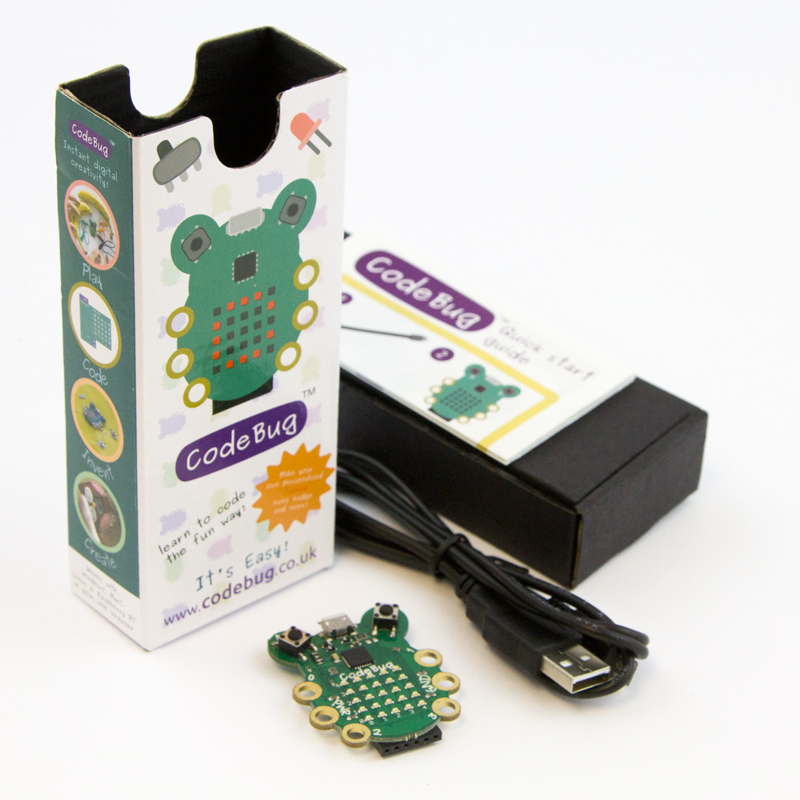
Codebug & Raspberry Pi Clock
Introduction
You can create some amazing projects, by controlling your CodeBug with Python using the Raspberry Pi’s I2C port. This guide will show you how to create a scrolling digital CodeBug clock.
Make sure you have followed the ‘RASPBERRY PI CONTROLLED CODEBUG WITH I2C’ guide and have your CodeBug loaded with the I2C tethered mode program and connected your CodeBug in the correct position on the Raspberry Pi’s GPIO before trying this activity


|
CodeBug | |||
| Micro USB cable | ||||
| Computer | ||||
| Raspberry Pi | ||||
Writing the Python
Your Python program needs to get the time and date from the Raspberry Pi and scroll it on CodeBug’s display.
Open a Terminal and start a new Python program by typing:
nano ~/codebug_i2c_clock.pyEnter the following code into the file and save it:
import codebug_i2c_tether

import datetime

import time

# make a connection with CodeBug

cb = codebug_i2c_tether.CodeBug()

cb.open()

# function for scrolling messages on CodeBug’s display

def scroll_message(message):

    length = len(message)

    for i in range(0,length*-5,-1):

        cb.write_text(i, 0, message, direction="right")

        time.sleep(.15)

while True:

    # get the time and scroll it

    time_str = datetime.datetime.now().strftime("%H:%M:%S")

    scroll_message(" Time " + time_str)

    # get the date and scroll it

    date_str = datetime.datetime.now().strftime("%d/%m/%Y")

    scroll_message(" Date " + date_str)
Test your clock by entering the following command into a Terminal:
python3 ~/codebug_i2c_clock.pyExit the program by pressing Ctrl C.
Changing timezones
You may find that your CodeBug is displaying the wrong time, this means you need to change the timezone on your Raspberry Pi or update the time by being connected to the Internet. To change timezones open a terminal and type:
sudo raspi-configUse your arrow keys to navigate through the list and select Internationalisation Options then select Change Timezone and select your region and closest large city.
Running automatically
Run your clock automatically whenever you turn on your Raspberry Pi (even if you don’t log in)!
To do this you need to edit a system file with this command:
sudo nano /etc/rc.localEnter the following line directly above exit 0 line:
python3 /home/pi/codebug_i2c_clock.py &Now restart your Raspberry Pi and you will see that your clock runs before you log in.
If you need to stop the clock running, type:
ps auxAnd find the process that has python3 /home/pi/codebug_i2c_clock.py in the end column, and take a note of its process id (from the second column). Now run:
sudo kill -9 your-process-ide.g:
sudo kill -9 2887To remove your clock simply edit the rc.local file and remove the line you inserted:
sudo nano /etc/rc.local