Download your project to your computer
Once you have finished making your program, it needs to be downloaded to your computer ready for transfering to CodeBug.
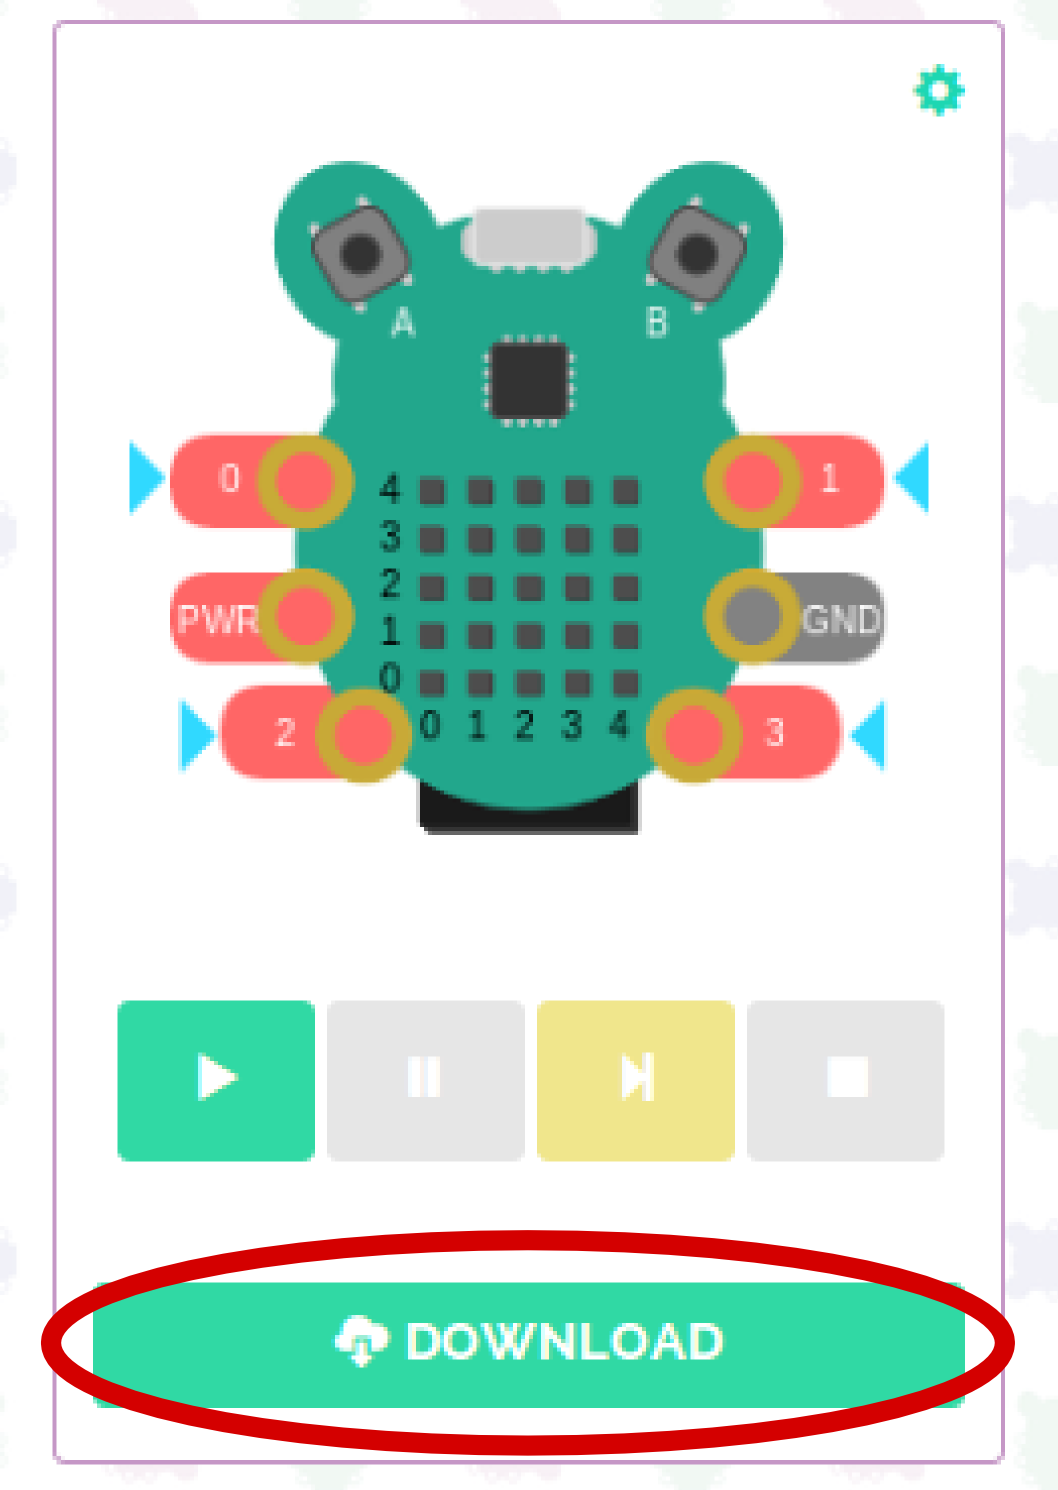
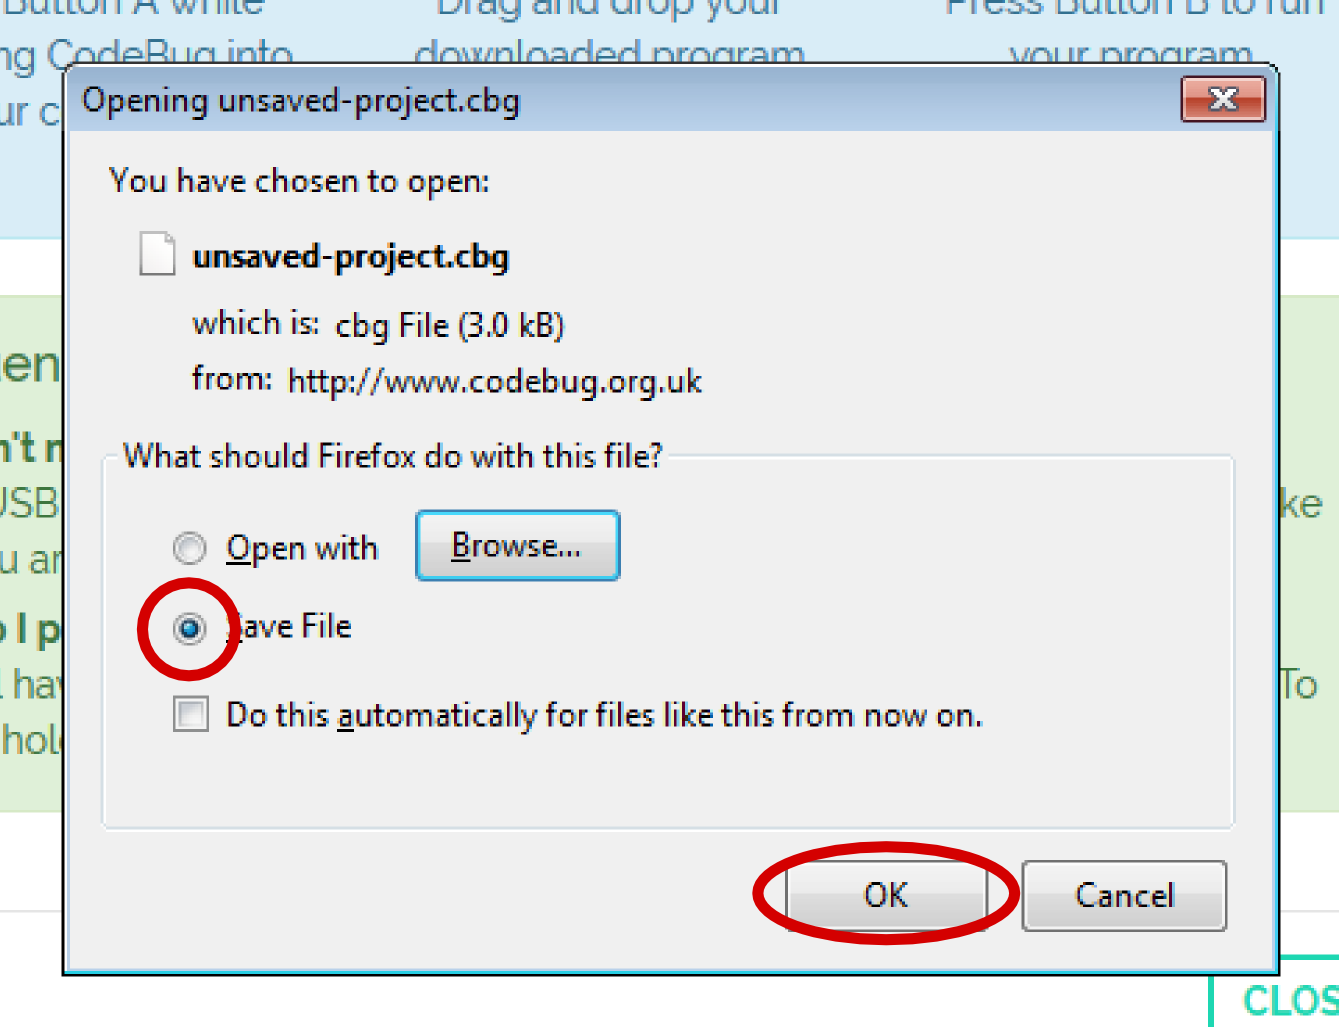
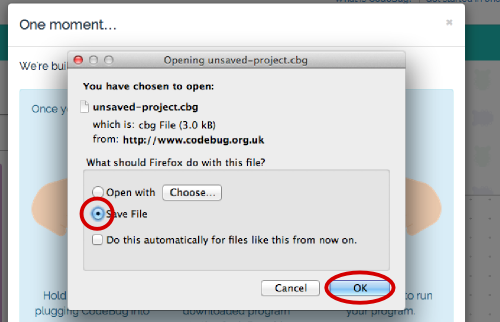
Click the Download button below the CodeBug emulator to download your project file to your computer.
Information:
If you've not clicked the save button, the file downloaded will be called unsaved-project.cbg and a number that increases each time you click Download.
A window pops up informing you that your program is being built and will be downloaded shortly. Continue to the next step of the instructions below.
Connect your CodeBug
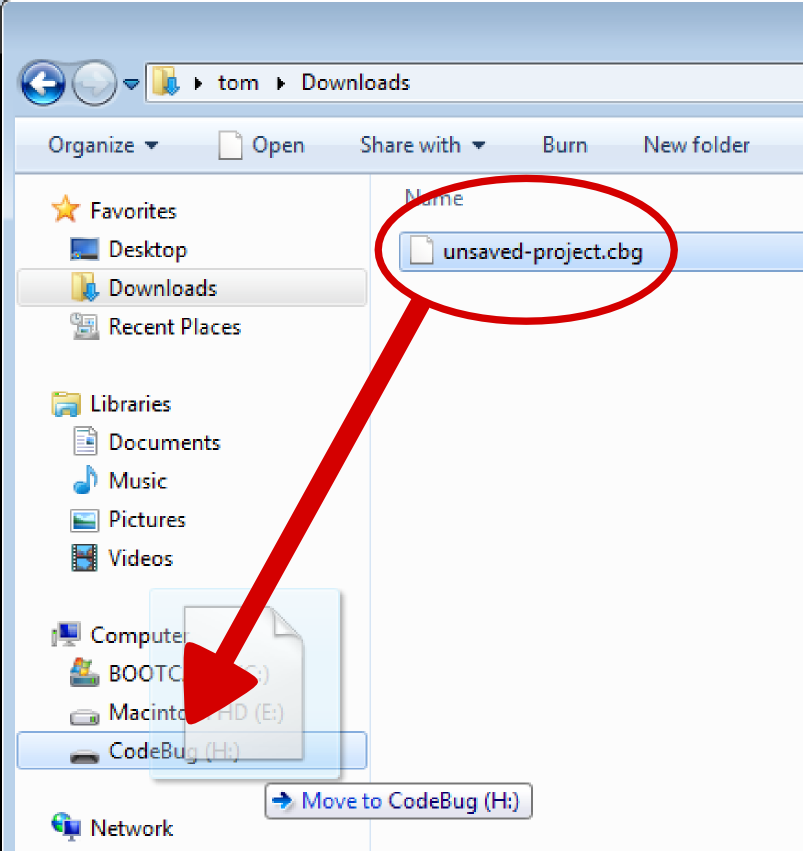
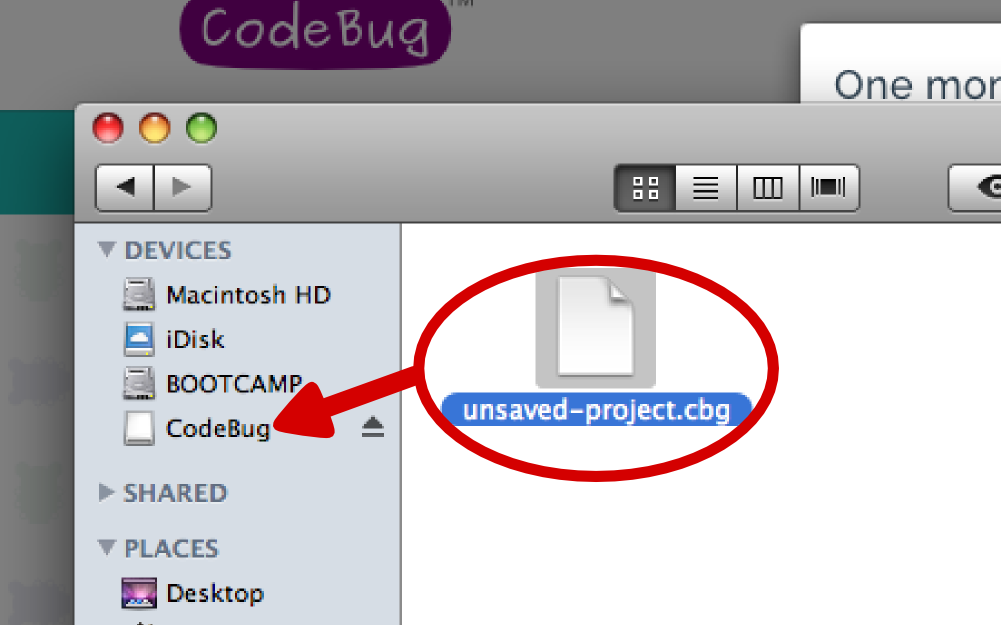
You need to transfer the file you downloaded onto CodeBug. When you plug CodeBug into your computer it can appear as a USB drive (just like a USB memory stick). You will need to transfer the file you just downloaded onto it, as if you were saving it to a normal USB drive. To make your CodeBug appear as a USB drive, follow these steps:
Note:
These instructions assume you've not got a battery in your CodeBug.
Plug the small end of the Micro-USB cable into CodeBug.
Take Care!
Be gentle when connecting and disconnecting the Micro-USB. Never wiggle the connector up and down as this stresses the connector.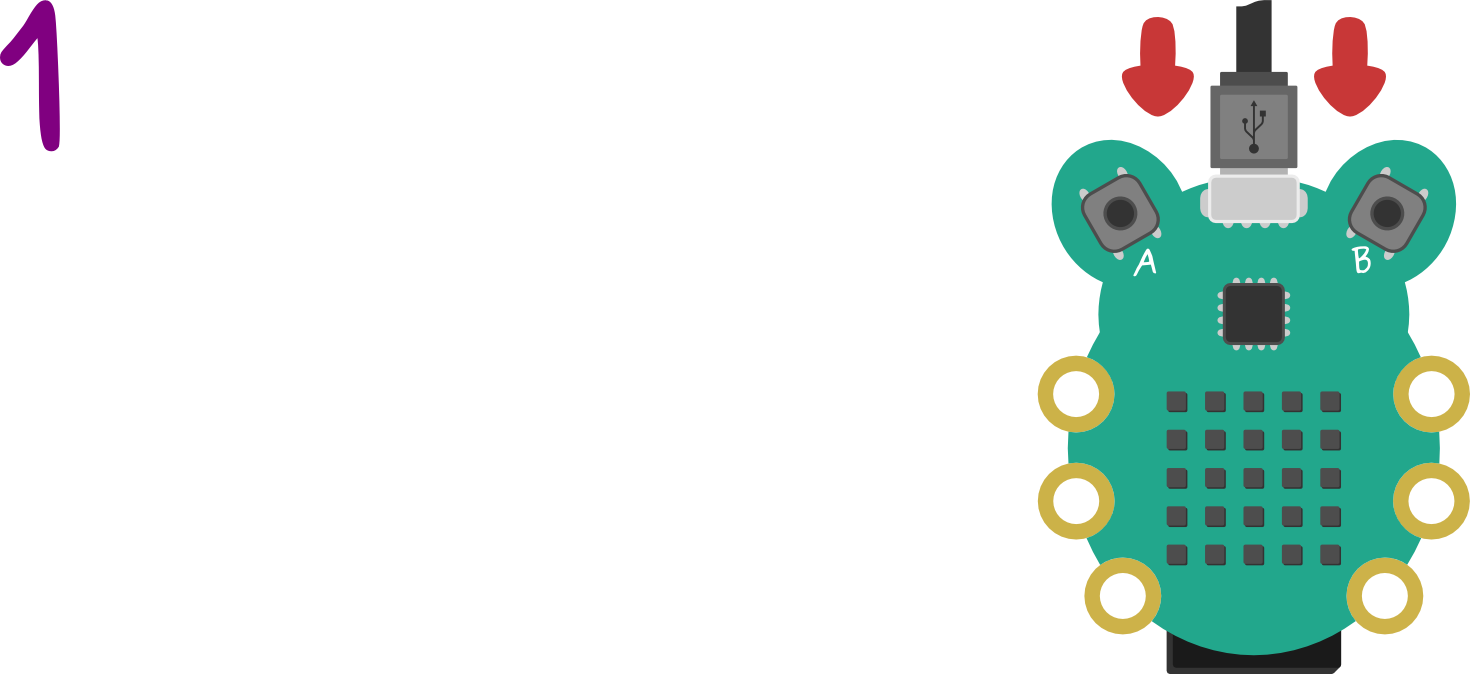
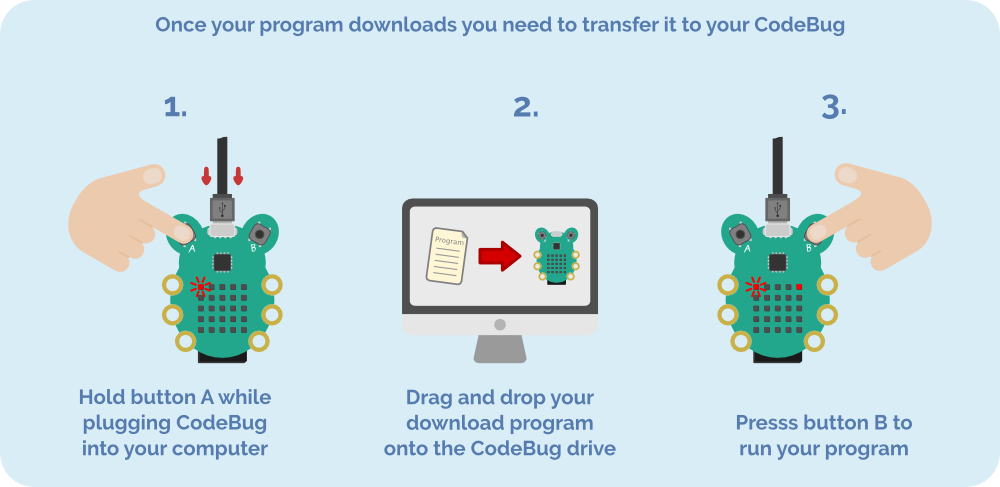
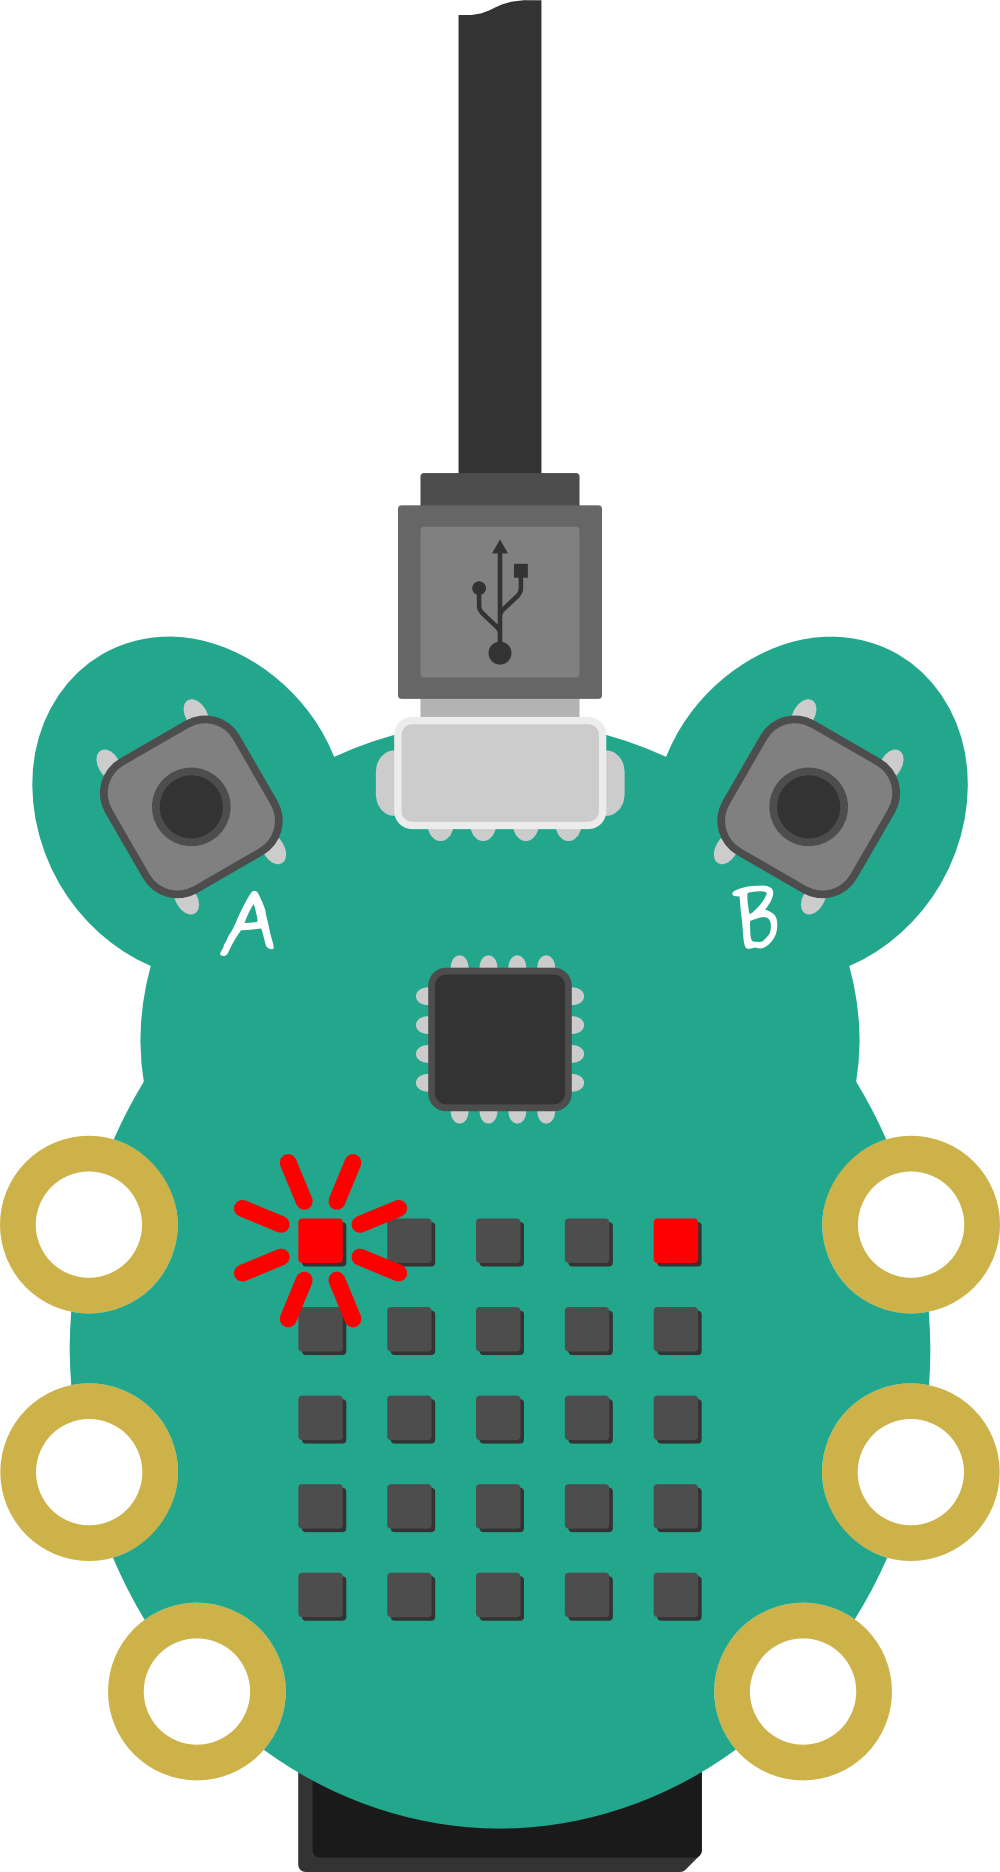
While holding down button A on your CodeBug, plug the large end of the Micro-USB into your computer. You must press button A before plugging in, and keep it held.
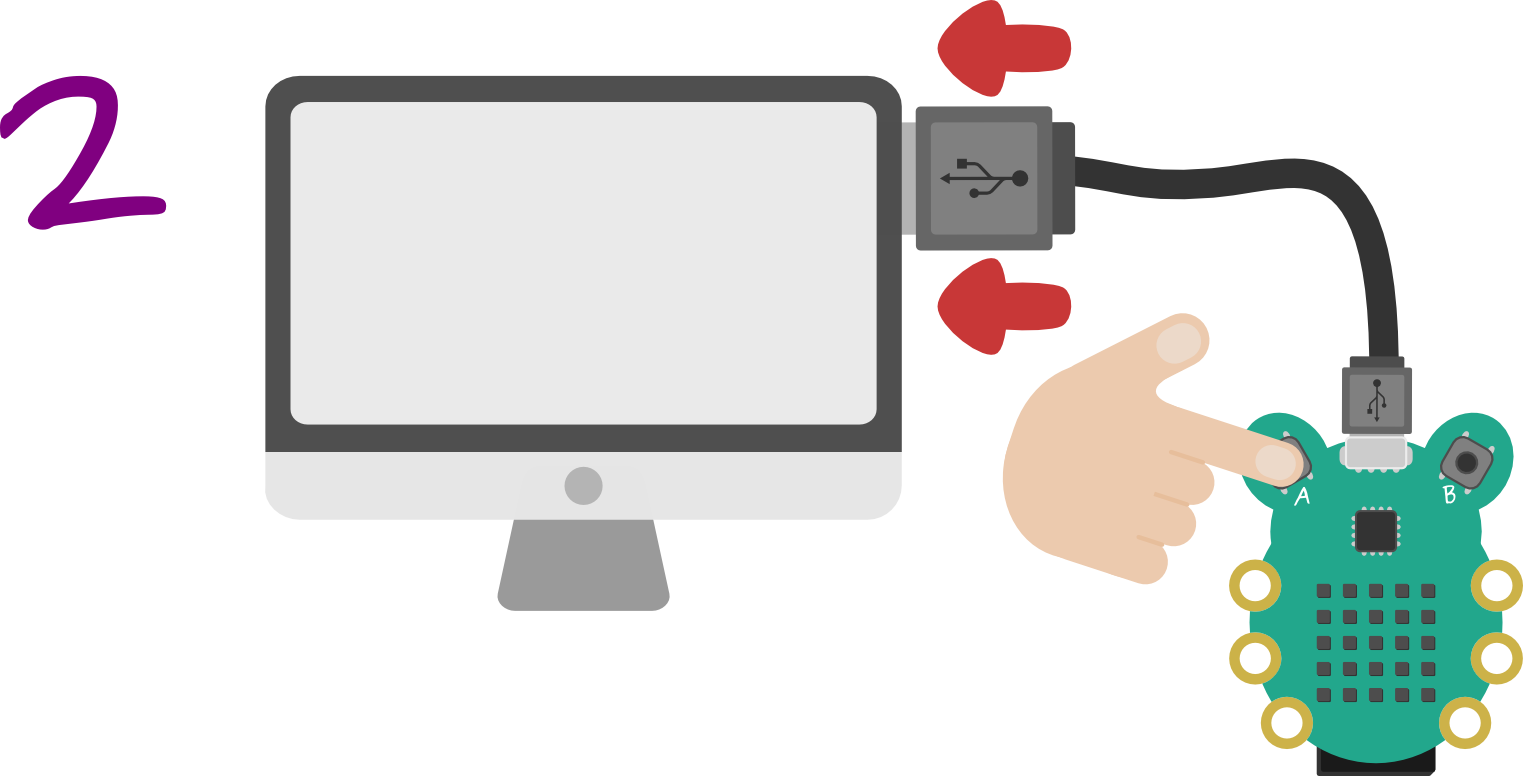
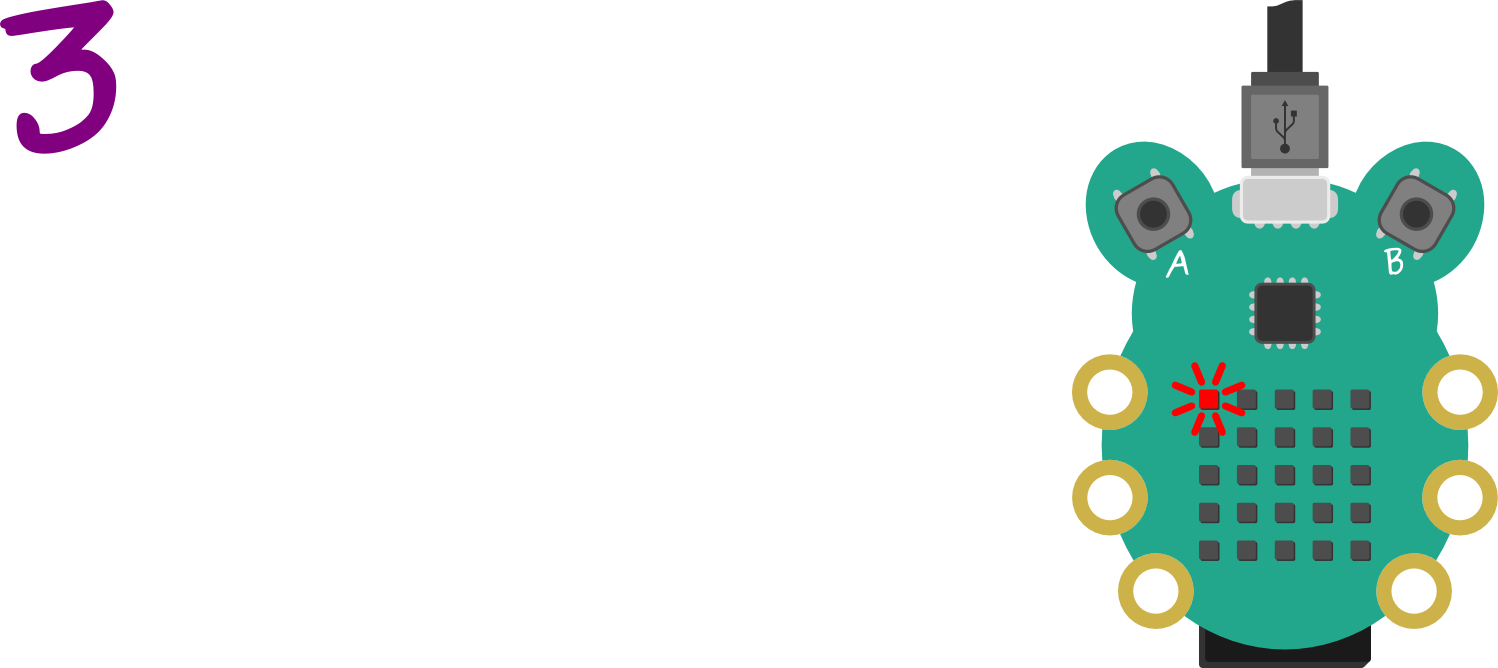
The LED in the top left of CodeBug’s LED display will flash to show CodeBug is ready to receive your program. Now let go of button A.
Note:
Some USB cables are only designed to provide power and do not transfer data; you will not be able to use these to program CodeBug. If the LED does not flash, connect another device (such as a smartphone) to your computer with the cable, and check it appears as a drive.
Earlier, when you clicked Download, an instruction box will have appeared on the website. You can ignore this for now, as these instructions for plugging in CodeBug are detailed in the next section of this guide.
Transfer your project to CodeBug
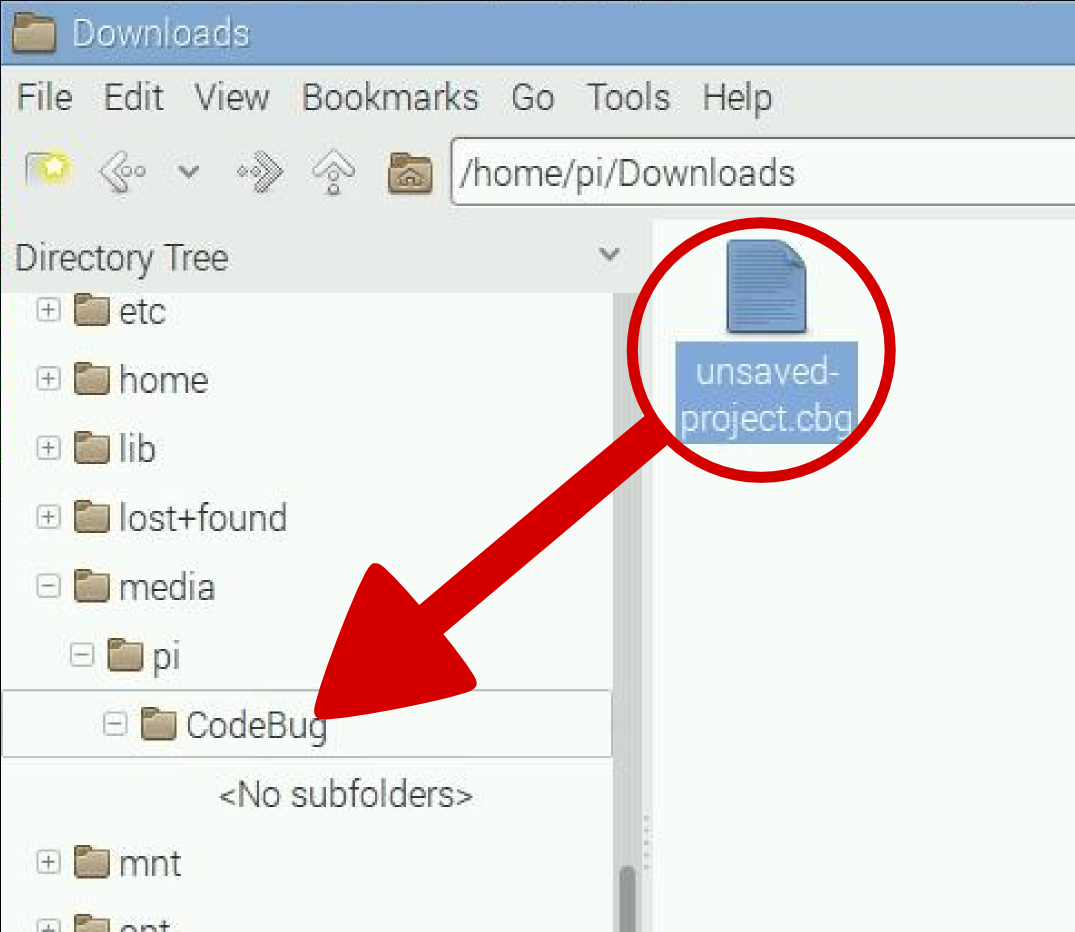
Now that your project file is downloaded to your computer and your CodeBug is appearing as a USB drive, you need to transfer the program onto CodeBug. There are different steps to follow to transfer your project to CodeBug depending on your computer's operating system and web browser.
Choose the relevant instructions below, by clicking the bar that corresponds to your operating system. In the section that opens beneath it, click the tab for the web browser you are using.
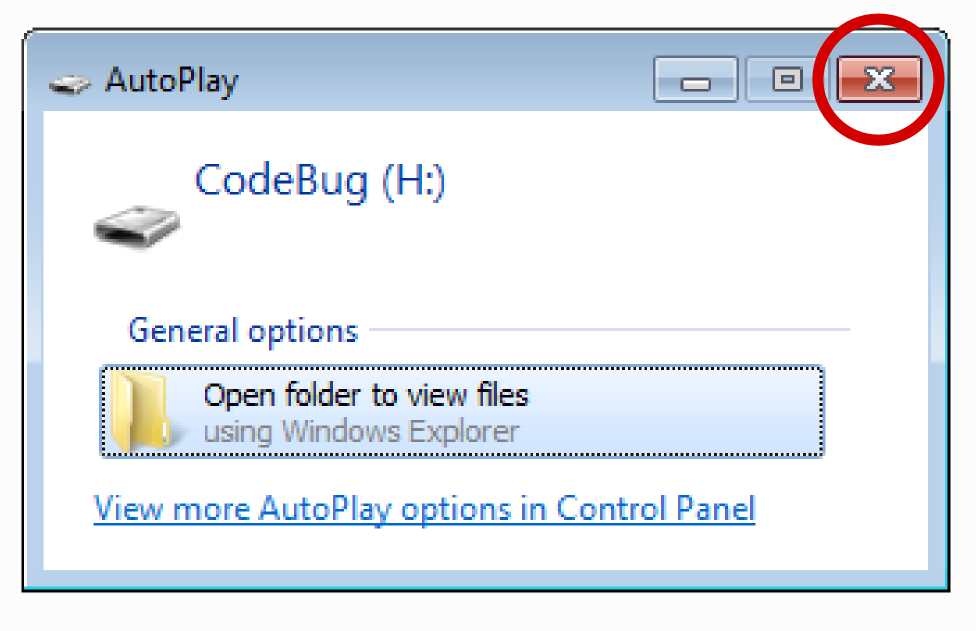
After plugging in CodeBug, an AutoPlay window may pop-up, close it by clicking the cross in the corner.
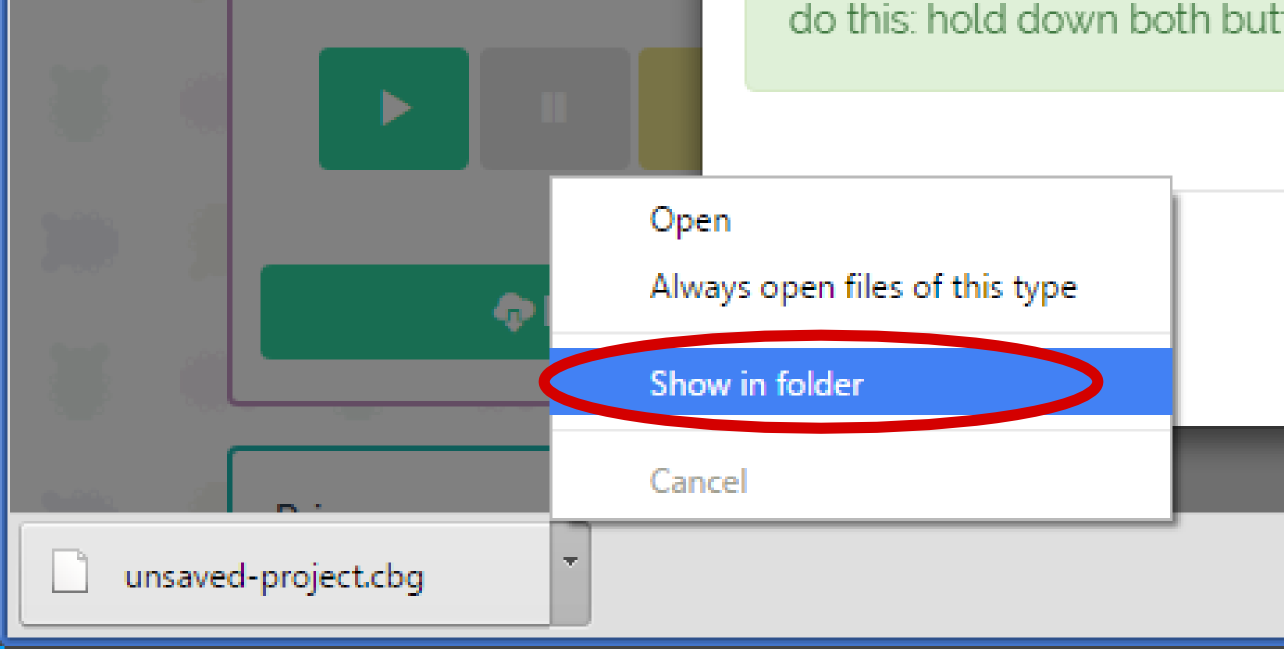
In this menu, select Show in folder.

USB transfer
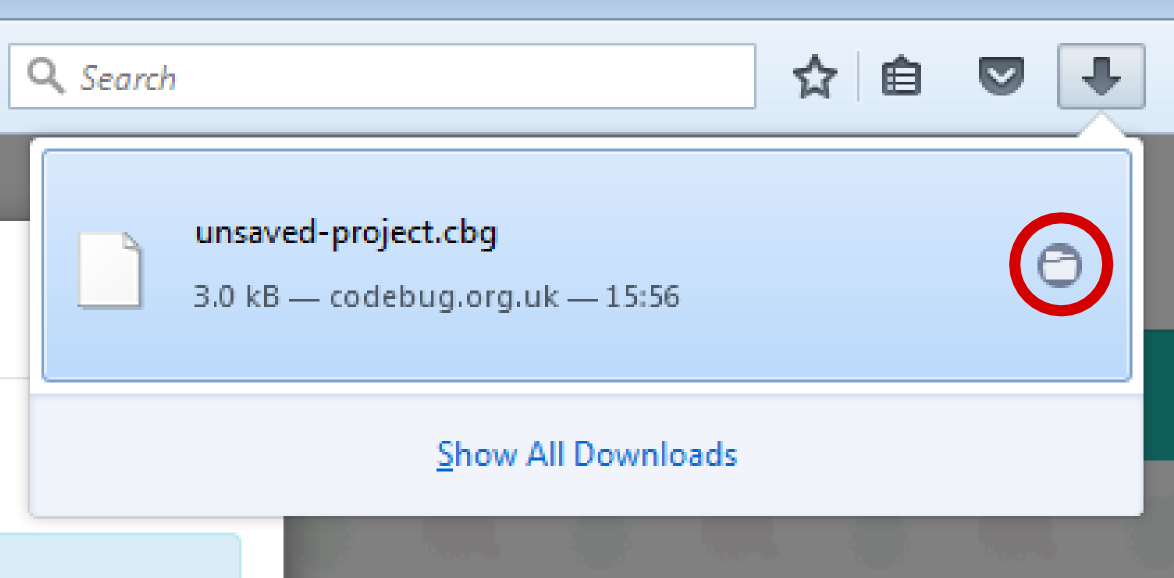
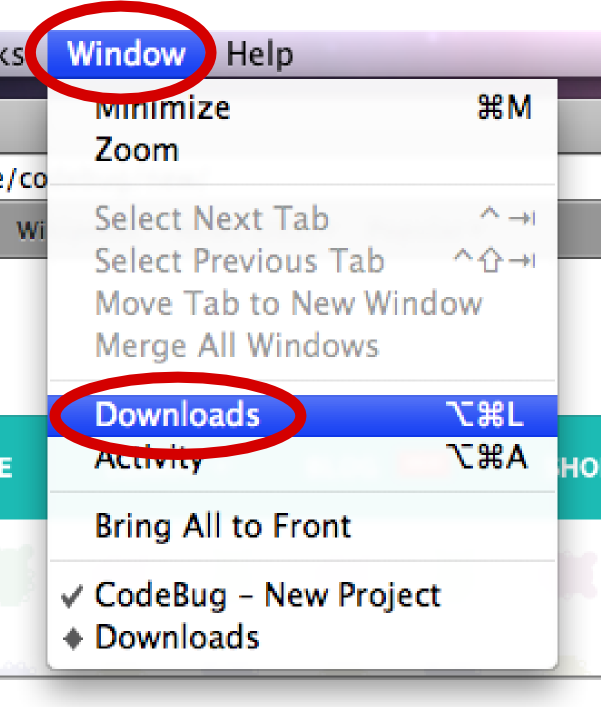
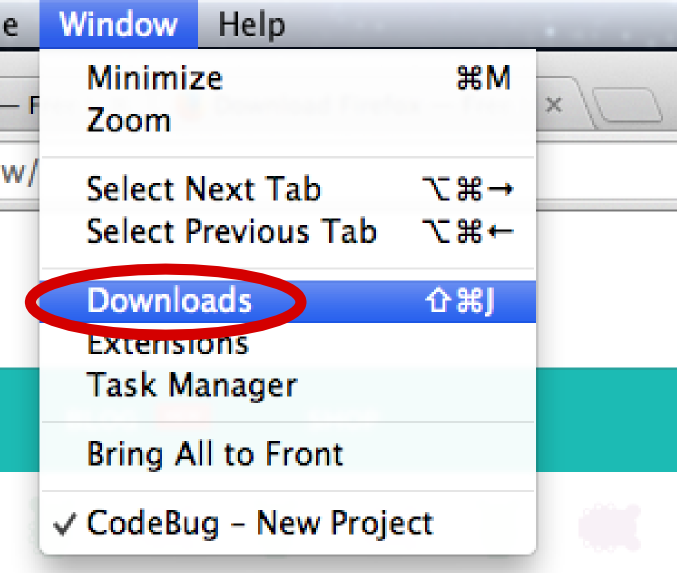
After clicking the Download button on the CodeBug website, a Downloads window should appear, however if it does not, click Window > Downloads on your Safari menu bar.
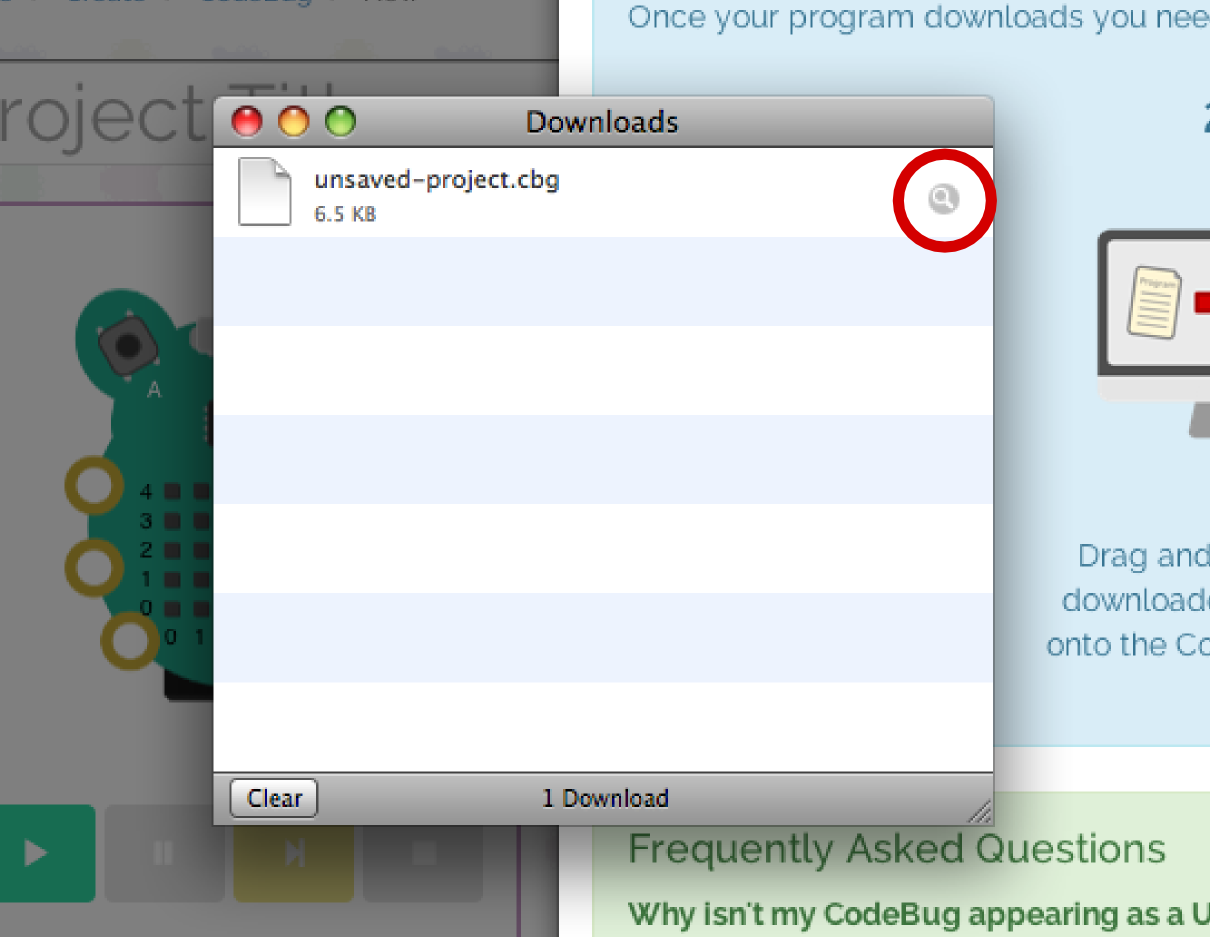
Then in the downloads window, click the magnifying glass by your project file, to show the file in Finder.
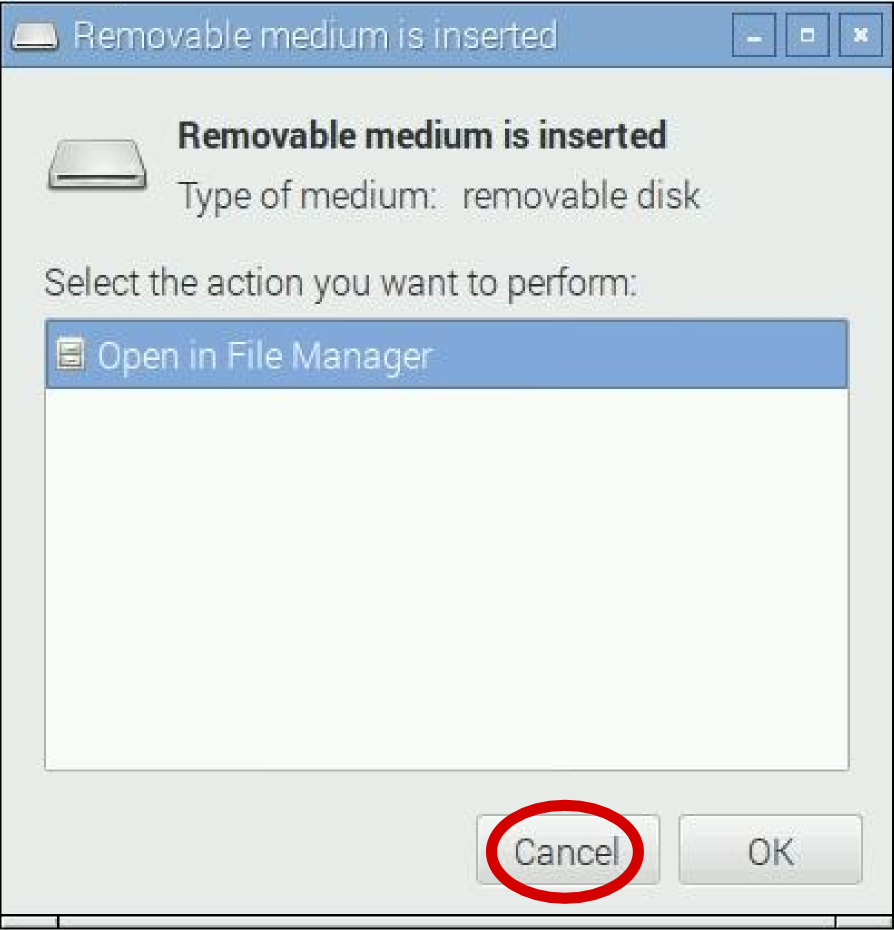
After plugging in CodeBug, a window will appear stating Removable medium is inserted, close this by clicking Cancel.
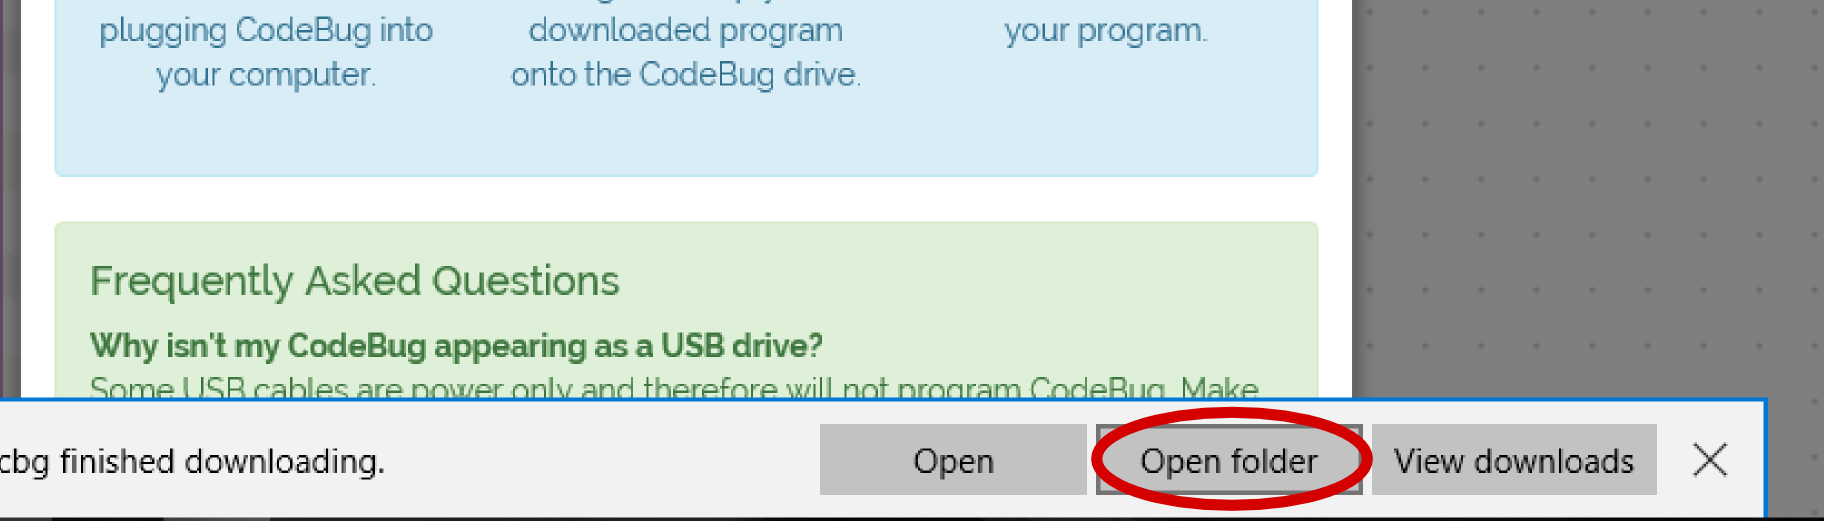
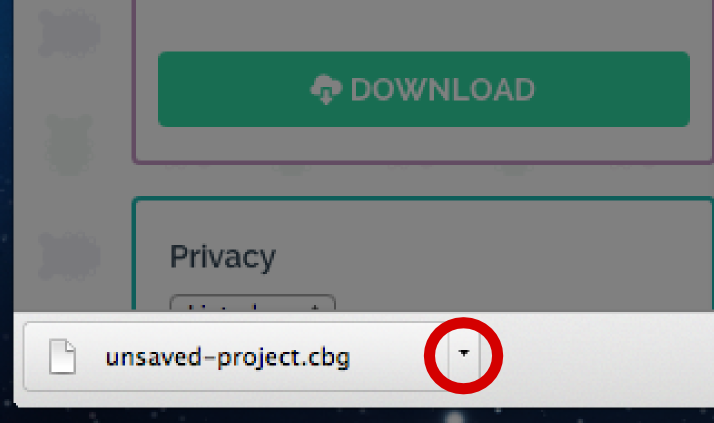
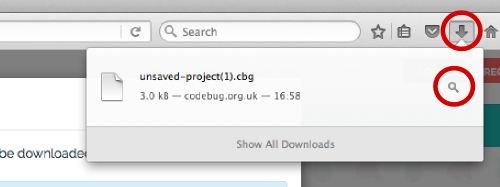
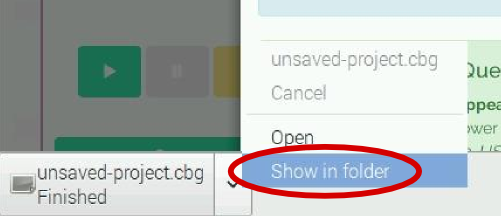
A grey bar at the bottom of your browser window will appear, with your project file name listed. Click the menu arrow to the right of your project file.
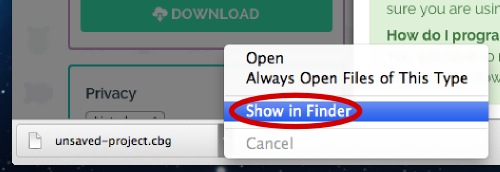
In this menu, select Show in folder.
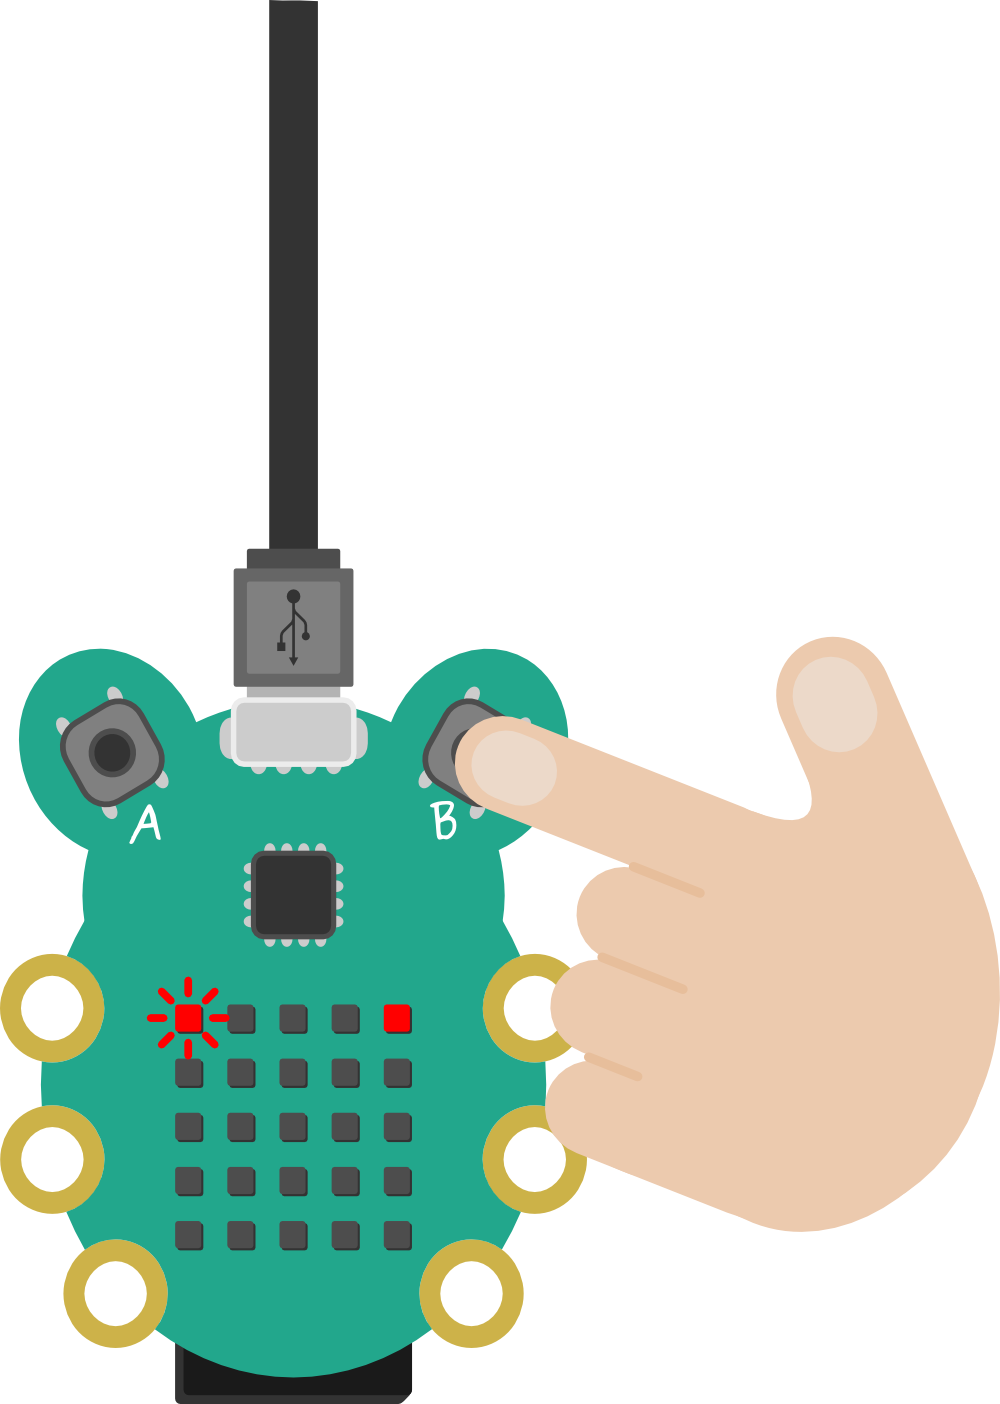
When your program has finished loading, the LED in the top right of CodeBug’s display will turn on.
Reset your CodeBug
Now that CodeBug is programmed, you must reset CodeBug to start running your program by pressing button B. Your program will now be running.
Information:
Your program is permanently stored in CodeBug, even when you disconnect the power!
You can reprogram CodeBug many times, but before you can transfer another program onto CodeBug, you need to put it in programming mode. Do this either by unplugging and then following the steps above again, or (with CodeBug still connected to your computer) by holding down both buttons for 10 seconds, before releasing button B followed by button A.