Tethering Codebug And Colour Tail With Python
Introduction
Reach the full potential of your CodeBug with Tethered mode. You can make programs that will be able to:
Respond to Minecraft
Control CodeBug from the web
Display alerts and the time on CodeBug
Turn CodeBug into an Internet of Things device
To use CodeBug Tether you will need to load it with a special project file. Once this is done you can control CodeBug and Colour tails with Python over a USB connection.


|
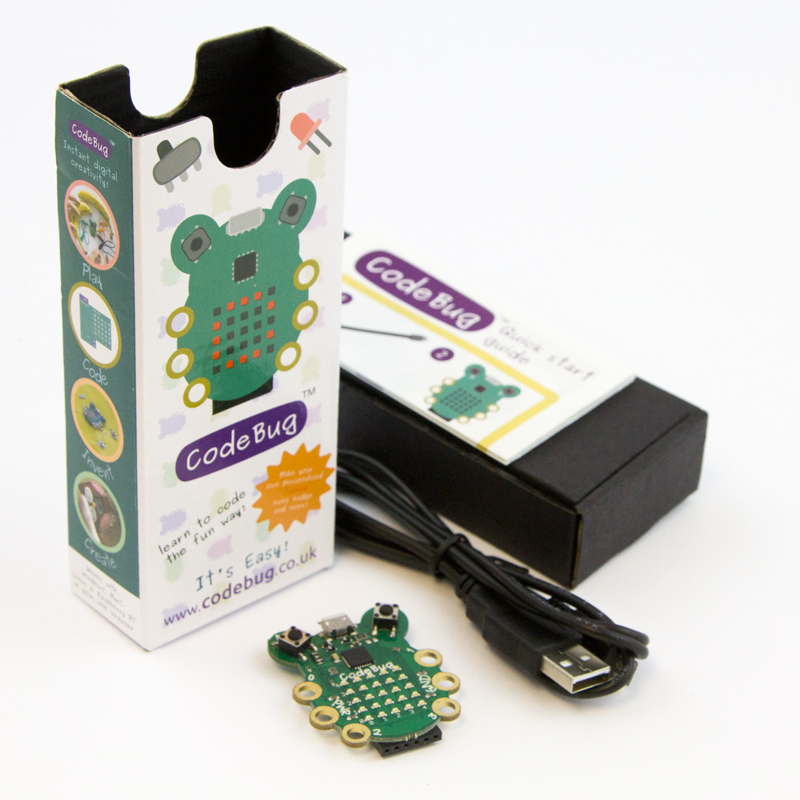
CodeBug | |||
| Micro USB cable | ||||
| Computer | ||||

|
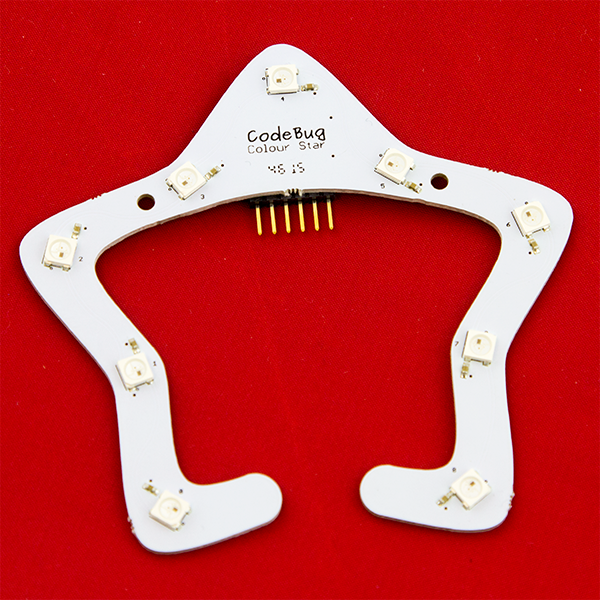
ColourStar | |||
Set up Tethered mode
For tethered mode you need to load your CodeBug with a special project file. This is done in the same way as a regular CodeBug program (refer to the download guide for details).
Download the CodeBug tether project file and load it onto your CodeBug.

Next, you need to install some Python modules.
Python libraries for Raspberry Pi & Linux
You must now install the Python libraries that will talk to your CodeBug. Python should already be installed but for good measure:
sudo apt-get install python3To install pip, securely download get-pip.py, then run the following:
python get-pip.pyTo install codebug_tether, open up a terminal and type:
pip install codebug_tetherPython libraries for Windows
Download and install the latest version of Python 3 from here. Make sure you tick the Add Python 3 to environment variables checkbox.
To install codebug_tether, open up a command prompt and type:
pip install codebug_tetherPython libraries for MaxOSX
Download and install Xcode (if you haven’t already) and then enable the command line tools by running (in a terminal):
xcode-select --installNow install Homebrew (a package manager for OSX):
/usr/bin/ruby -e "$(curl -fsSL https://raw.githubusercontent.com/Homebrew/install/master/install)"The script will explain what changes it will make and prompt you before the installation begins. Once you’ve installed Homebrew, insert the Homebrew directory at the top of your PATH environment variable. You can do this by adding the following line at the bottom of your ~/.profile file:
export PATH=/usr/local/bin:/usr/local/sbin:$PATHNow, we can install Python 3:
brew install python3
This will take a minute or two.
To install codebug_tether, open up a terminal and type:
pip install codebug_tetherConnecting your tail
It is recommended that you connect your Colour Tail after plugging in the Micro USB cable into CodeBug and disconnect your Colour Tail before unplugging the Micro USB from your CodeBug to avoid damaging the devices. Take care when plugging in or unplugging devices from CodeBug.
To fit a Colour Tail to CodeBug, place the Colour Tail on a table with the LEDs facing upwards, then with CodeBug with LEDs side up, gently slide CodeBug’s expansion socket onto the 6 pin connector on the Colour Tail.

Your own tethered CodeBug programs
You can write your own tethered CodeBug programs using Python and a few simple commands to control your CodeBug. In the next steps you will start an interactive Python session and enter commands to interact with your tethered CodeBug. Don’t forget you need the tethered mode project installed on your CodeBug for them to work.
Open a Terminal and type:
sudo python3You will see the python prompt appear >>> Now type:
import codebug_tether

import codebug_tether.colourtail

cb = codebug_tether.CodeBug()

cb.set_pixel(2, 2, 1)
You will see the center LED - at position (2, 2) - light up on CodeBug.
NB: On some computers, or if you have multiple CodeBugs you will have to put the address of your CodeBug in brackets. More details are in the section Addressing Your CodeBug.
To set up the colour tail
colourtail = codebug_tether.colourtail.CodeBugColourTail(cb)

colourtail.init()
Now try setting a Colour tail pixel:
colourtail.set_pixel(0, 255, 0, 0)

colourtail.update()
You will see the first pixel on your colour tail light up red. You passed this function 4 numbers. The first number was the number of the pixel, and the other 3 were red, green and blue. Note: The colour numbers need to be between 0 and 255. The update() function pushes any changes to pixel colours you have made, to the physical colour tail, so you can run multiple set_pixel() commands and then run update() so the pixels all change at the same time.
Try setting multiple Colour tail pixels:
colourtail.set_pixel(0, 0, 0, 255)

colourtail.set_pixel(1, 0, 100, 200)

colourtail.set_pixel(3, 255, 255, 0)

colourtail.update()
All 3 pixels change at once right?! Try different combinations of colours and pixel numbers to get comfortable using this function.

You can use variables and for loops to create amazing patterns with colour tail.
    for red in range(0,255):
        for green in reversed(range(0,255):

            for pixel in range(0,9):

            colourtail.set_pixel(pixel, red, green, 0)

            colourtail.update()
Get a full list of the commands available by typing:
 help(colourtail) or

 help(cb)
You can write longer programs for tethered mode CodeBug by writing commands in your text editor and then saving and running the file in the way you did with the examples earlier.
Tethered mode gives your CodeBug access to the full processing power, functionality and network connectivity of your computer! You can use variety of powerful yet easy to use Python modules allow your CodeBug to generate random numbers, react to emails or even respond to Twitter activity.

Addressing Your CodeBugs
The CodeBug tether library has a default address for CodeBug. In most cases this will work, however if you have multiple CodeBugs connected you may need to change the address you’re using.
To do this, first open a Terminal and type the commands:
ls /dev/tty*Plug the CodeBug back into your computer’s USB port and wait a couple of seconds. Then type the command:
ls /dev/tty*See what address has been added to the list (you should see something like ttyACM0 for Raspberry Pi or tty.usbmodemfd141 for Mac). You may find it easier if you unplug your other USB devices first.
When you initiliase CodeBug in your Python programs, you must pass it the address you have found.
e.g.
cb = CodeBug(‘/dev/tty.usbmodemfa141’)