Codebug Photographer With Raspberry Pi
Introduction
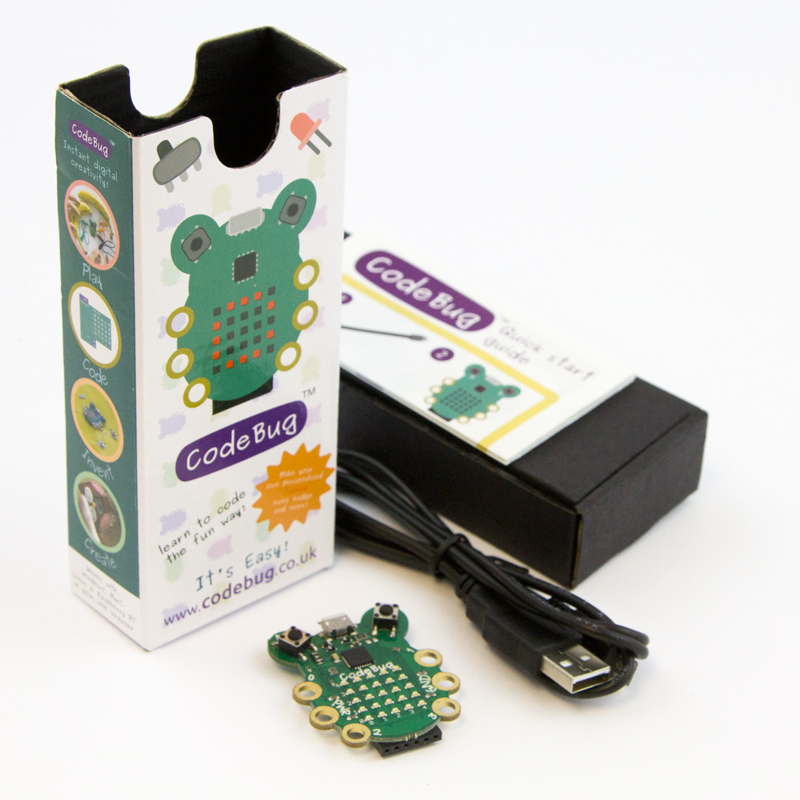
You can use the touch sensitive inputs on CodeBug to build a touch sensitive switch to trigger your Raspberry Pi Camera. Get your friends together and your camera will take a picture when you’re all holding hands!
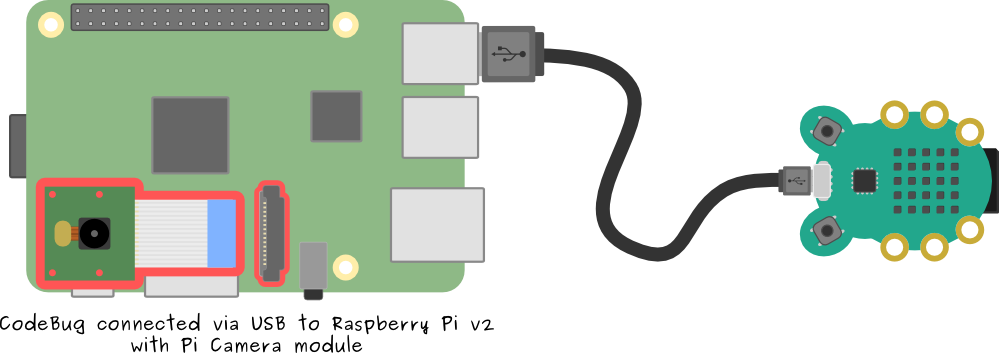
Make sure you have followed the ‘Tethering CodeBug with Python’ guide and have your CodeBug loaded with the tethered mode program and connected via USB to your Raspberry Pi.

|
CodeBug | |||
| Micro USB cable | ||||
| Raspberry Pi | ||||
| Raspberry Pi Camera | ||||
| Wires | ||||
Plugging in your Pi Camera
Getting your Pi Camera set up with your Raspberry Pi is easy, first you need to attach the camera to your Pi. With your Pi turned off, lift the tab on the connector labelled camera on your Pi (this will be the one that is closest to the Ethernet port) and insert the camera’s ribbon cable into this connector with the gold metal side facing away from the Ethernet.
Setting up your camera
To set your Pi Camera up, first you need to make sure your Raspberry Pi is up to date. Do this by logging into your Pi, then open a Terminal and type:
sudo apt-get update

sudo apt-get upgrade
Then enable the Pi Camera. To do this we will use the raspi-config tool. Open it with this with the command:
sudo raspi-configNavigate down this list with the up and down arrow keys and press enter when over the fifth option ‘Enable Camera’. Then press the right arrow key to select Enable and press enter again. Press right twice to select Finish then press enter twice to reboot your Pi for the change to take effect.
Installing Pi Camera
Once your Pi has rebooted you need to install Pi Camera, so log back in
Pi Camera is a great Python library for controlling the Pi camera with all sorts of useful features
Install Picamera by turning on your Raspberry Pi, opening a Terminal and typing:
sudo apt-get install python3-picameraWriting the Python program
Download this CodeBug photographer program to your Pi or open a text editor from a Terminal on your Raspberry Pi to write your program in:
nano codebug_camera.pyEnter the following code:
import picamera

import codebug_tether

import time

# Now set up the CodeBug connection

cb = codebug_tether.CodeBug()

cb.set_leg_io(0, 1)

# Set up the camera

with picamera.PiCamera() as camera:

    camera.resolution = (1024, 768)

    camera.start_preview()

    time.sleep(2)

    # Wait until the leg is touched

    while cb.get_input(0):

        time.sleep(0.1)

    # take the picture

    camera.capture('your_image_name.jpg')
Save your program and run it to check everything works:
python codebug_camera.pyCheck your picture looks ok by viewing it in the file browser or by installing fim:
sudo apt-get install links2Then use the following command:
links -g your_image_name.jpgGetting the perfect picture
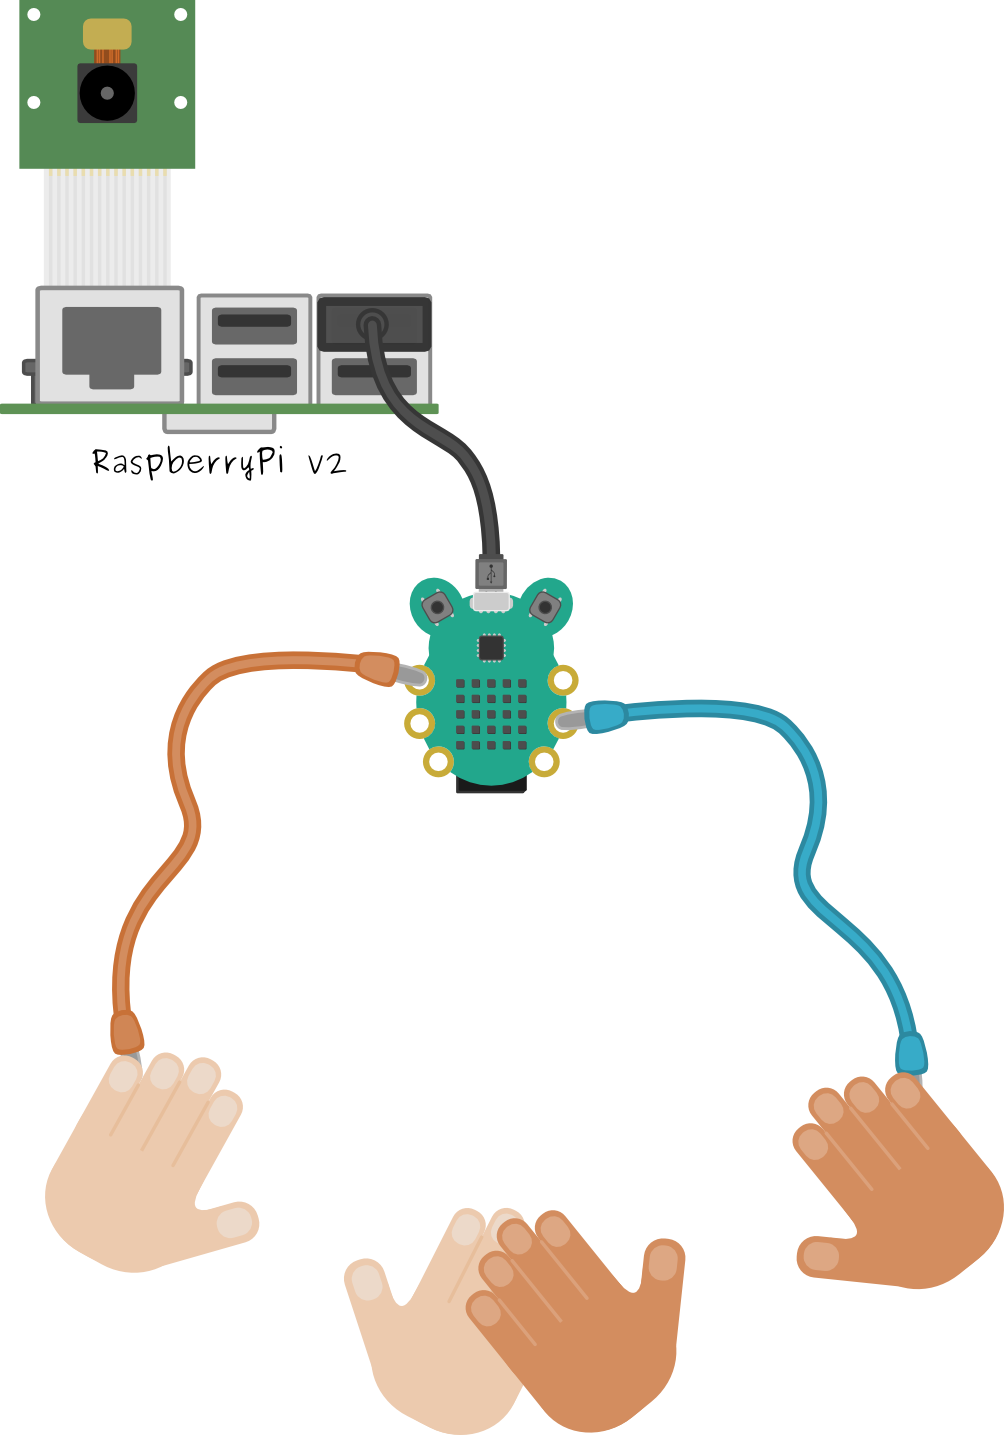
To make sure you can get a nice picture, attach croc-clips or wires to your CodeBug’s GND and 0 legs. Get your friends to stand in a line facing the camera, with the friend on one end holding the wire to GND and the friend on the other end holding the wire to leg 0. When you all hold hands, you will complete the connection and your picture will take.
What next?
Make CodeBug display a flashing graphic when taking a picture, or even a display count-down. See how many people can fit into one photograph!
See if you can modify the program to take multiple pictures and give them unique names.
Checkout the Dance Mat activity for instructions on how to make a pressure sensitive mat which you could use to trigger your camera.