Dial Control Codebug
Introduction
Sometime you will want more control than just a button press in your CodeBug projects, this can be achieved with analogue inputs. Instead of the input sensing an on (high voltage around 3-5 volts) or off (low voltage around 0 volts), it senses any voltage in-between 0 and 3/5. This value can be generated using a variable resistor called a potentiometer.


|
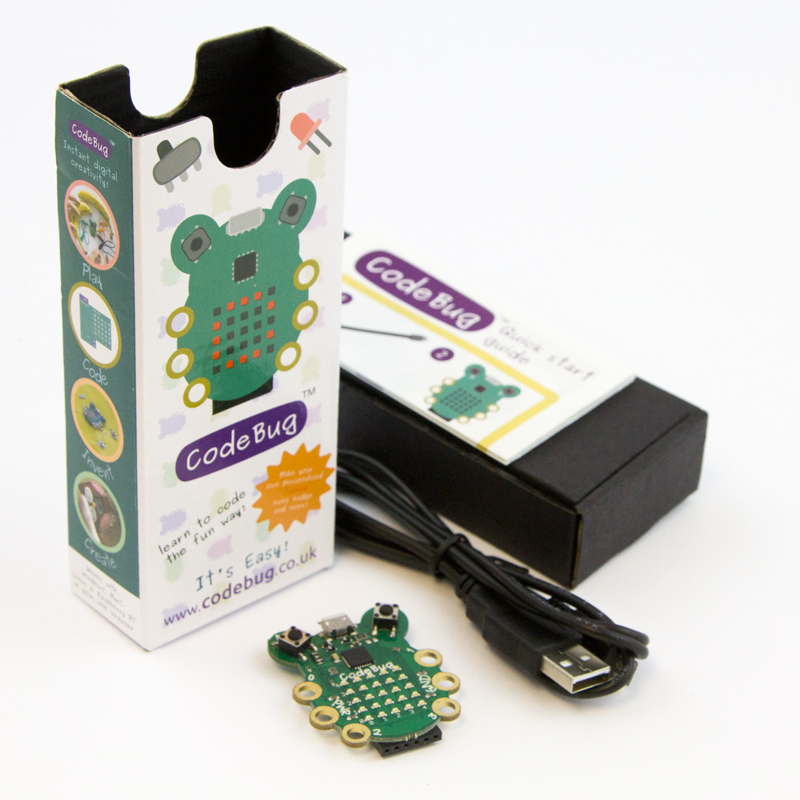
CodeBug | |||
| Micro USB cable | ||||
| Computer | ||||
| Crocclips | ||||
| 10k ohm potentiometer | ||||
Wiring up the potentiometer
You may need to check the information sheet of your potentiometer, however it should have three legs, a power leg, a ground leg and an output leg. The middle leg is usually the output leg.

Using croc clips, connect the power leg of the potentiometer to the PWR leg on CodeBug. Now connect the ground leg of the potentiometer to the GND leg of CodeBug. Finally connect the output leg of the potentiometer to leg 0 on CodeBug.

Writing your program
To show the value that we are reading from the potentiometer, we need to read the analogue value of leg 0 from the potentiometer and scroll the value on the LED display. Follow the tutorial below to write your program.
Tutorial
Testing your project
Click the play button on the emulator. It will scroll "255". If you click and hold leg 0, the emulator will start scrolling 0 instead. This shows us the highest and lowest value our analogue leg can read.
Load your program onto your CodeBug and start turning the potentiometer knob, the value scrolling will change to numbers within the 0-255 range.
With the dial turned anticlockwise as far as it can, CodeBug should be scrolling "0" and clockwise as far as it can should scroll “255”. If these are swapped, try swapping over the ground and power wires to the legs on the potentiometer.