New CodeBug editor!
- On June 20, 2016, 3:09 p.m.
- By Thomas Macpherson-Pope
We're continually adding new features to the CodeBug website and we need your help to test it.
We've just made the editor easier to use, and even more exciting, you can now run your CodeBug project in your own blog, website site, or online teaching resources!
New Editor
The detectives among you may have noticed a banner appear on the CodeBug Create page for our new Full screen editor.

The shiny new Create page is designed to make it easier to code, giving you more room to get creative. The Blockly workspace expands to take the full screen, and if that's not enough, you can now hide the CodeBug emulator by clicking the grey vertical bar to the left of the emulator to slide it away.
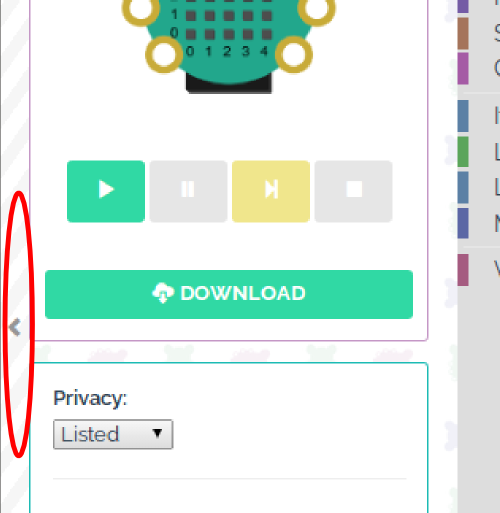
These features make coding CodeBug even better on smaller screens such as tablets and phones.
But the more exciting news is that you can now embed the CodeBug editor or your CodeBug project in your own website or blog!
Embed CodeBug into your website
You can now have the CodeBug emulator running your program in your website like this:
It's easy to embed CodeBug in your own website. Click the share button on your project, and from the window that appears copy the HTML from the embed section into the body of your webpage (just like you would to embed a YouTube video).
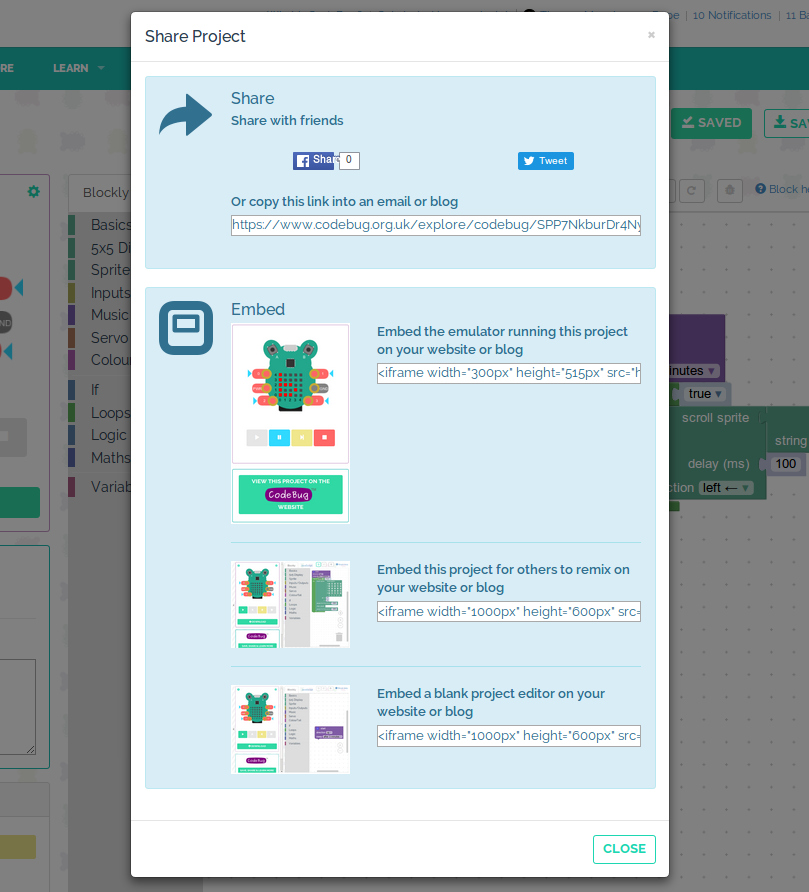
You can also embed the editor in your own site, which is perfect for use in your own tutorials, lesson plans or online learning environments, as shown below.
So why not show your favourite CodeBug project running on your own website. Just copy and paste the embed code from the share link.
We'd love to hear your feedback – Tweet us your experiences with the new editor and send us links or pictures of anywhere you embed it.
Debugging with CodeBug
- On June 7, 2016, 3:33 p.m.
- By Thomas Macpherson-Pope
CodeBug now has a new debugging tool, breakpoints! But what is debugging and what on earth are breakpoints?!

When you create large complex programs, they are bound to contain errors that make the program behave strangely. These errors are called ‘bugs’, finding and fixing them is called ‘debugging’. Bugs can occur for all sorts of reasons, including typos and misunderstanding how the program is going to work. Debugging is an important skill when creating programs to make them work and to make them reliable.
Debugging can be difficult when you can’t see what your program is doing at a particular point (you are unlikely to be able to click pause just at the right time), this is where breakpoints are useful. A breakpoint tells the program to pause at a particular place in your code. You can then see whether the CodeBug emulator is currently doing what you think it should be.
Don’t forget you can “single step” your programs too by clicking the to show what your program is doing one block at a time.

Using CodeBug’s new debugging feature is simple, right click on a block and click ‘set breakpoint, or select a block and then click the debug button.

For more information follow this activity to find out how.
CodeBug at HOME
- On May 26, 2016, 4:26 p.m.
- By Thomas Macpherson-Pope
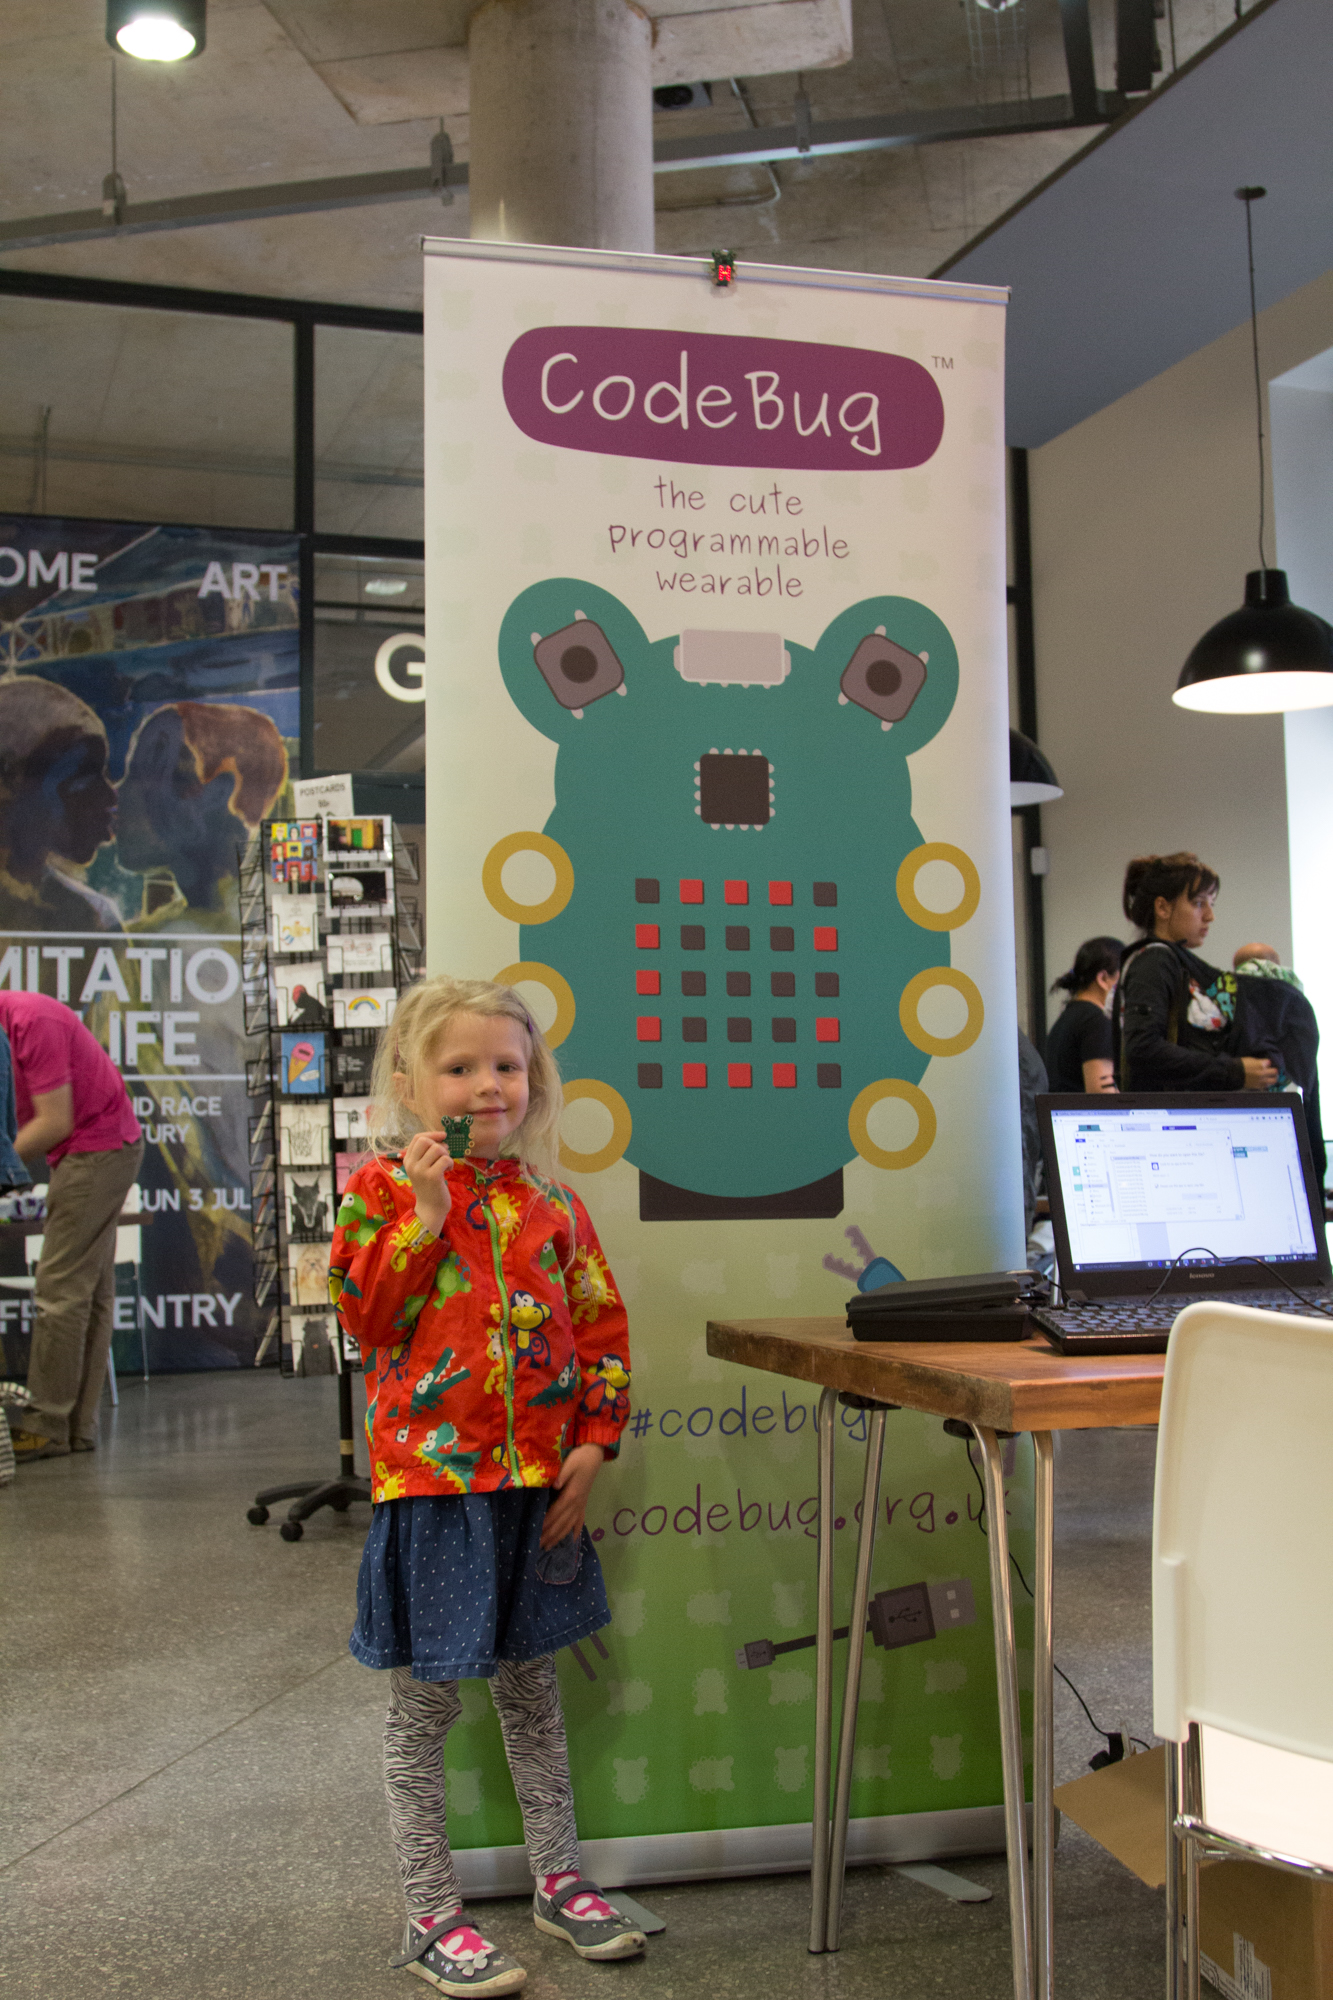
Last weekend we were very pleased to give a drop-in CodeBug workshop at HOME’s first birthday in Manchester. Lots of people got to programme a CodeBug to take away, many of which were programming for the first time!
I've been @HOME_mcr today checking out their digital makers session. I've made a light up badge. Thanks @_codebug pic.twitter.com/xKwKn7RKRL
— Katie Gallagher (@katiegallagher) May 22, 2016
Children as young as 5 were scrolling their names on CodeBug in minutes. It was amazing to see the moment when a youngster realises the awesome thing they have done and then grabs for the mouse to make it even better!
We were not alone in our enthusiasm for digital creatively at the birthday, our friends from CoderDojo and CodeClub were demoing other fun and shiney devices to get kids into coding.
Helping out today at @HOME_mcr with @CheadleCoDojo @_codebug @CodeClub pic.twitter.com/OLPpw1iUhS
— Andy (@x4tec) May 22, 2016
It was great to see our new technology wizards take to Twitter to show the world their creations. And because CodeBugs can be reprogrammed at home with just a web browser, the fun could continue after the workshop. It is so exciting to think that some of the young people having fun playing with CodeBug today will go on to create the technology of the future.
Huge thanks to @_codebug today @HOME_mcr Oliver is really pleased with his new piece of tech 😊 pic.twitter.com/IdAHEIUNdu
— Nicola W Dean (@ndeanstockport) May 22, 2016
HOME, the centre for arts and theatre in Manchester, opened a year ago and has since seen thousands of people pass through its doors. HOME has embraced the merging of arts and technology and were super excited to be part of it. For us, it's incredibly important to show everyone that coding isn’t scary and serious, that it is fun and creative!
CodeBug's expansion port
- On May 5, 2016, 10:22 a.m.
- By Thomas Macpherson-Pope
Last week we announced servo control with CodeBug, and briefly mentioned that you can now use the expansion port on CodeBug with the Blockly blocks. The main benefit is that it makes it really easy to connect loads of other components like sensors with jumper wires, header pins, and use CodeBug in a breadboard, without the need for soldering or an adapter board.
![CodeBug breadboard] (http://www.codebug.org.uk/media/codebug_breadboard5-small.jpg "CodeBug breadboard")
As well as the leg connections, CodeBug has a black expansion connector with power, ground and another 4 input/outputs. These are perfect for plugging in jumper wires or header pins. Look out for the new tutorials which make use of them.
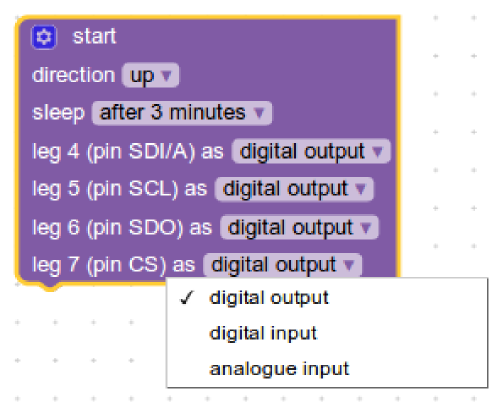
You can enable the expansion header with the online Blockly interface by clicking the cog on the start block. In the window that appears, tick the box next to extension pins input/output. Click the cog again to close this window, and you will see drop down menus for the 4 extra legs appear in the start block. The expansion header pins are labelled on the back of CodeBug with the same labels in start block, so you know which pin you are controlling.

A great example of using the expansion header like this is our lightsaber demo for May the fourth. The servo producing the movement and GlowBugs lighting up the saber were controlled by CodeBug connected through its expansion header.
CodeBug didn't want to miss out on the action: #MayThe4thBeWithYou . pic.twitter.com/AVNuDoD2my
— CodeBug (@_codebug) May 4, 2016
CodeBug has always been about making programming and electronics easy, while also allowing users to improve their skills and used more advanced methods for creating things. CodeBug's legs are great for getting started, while the expansion port connections are intended for when your confidence and experience grows. Unlike CodeBug's legs, the expansion port connections are not touch sensitive (no weak pull up) and there is no current limiting resistor. As such, you need to take a bit more care as CodeBug won't be as protected against wiring mishaps!
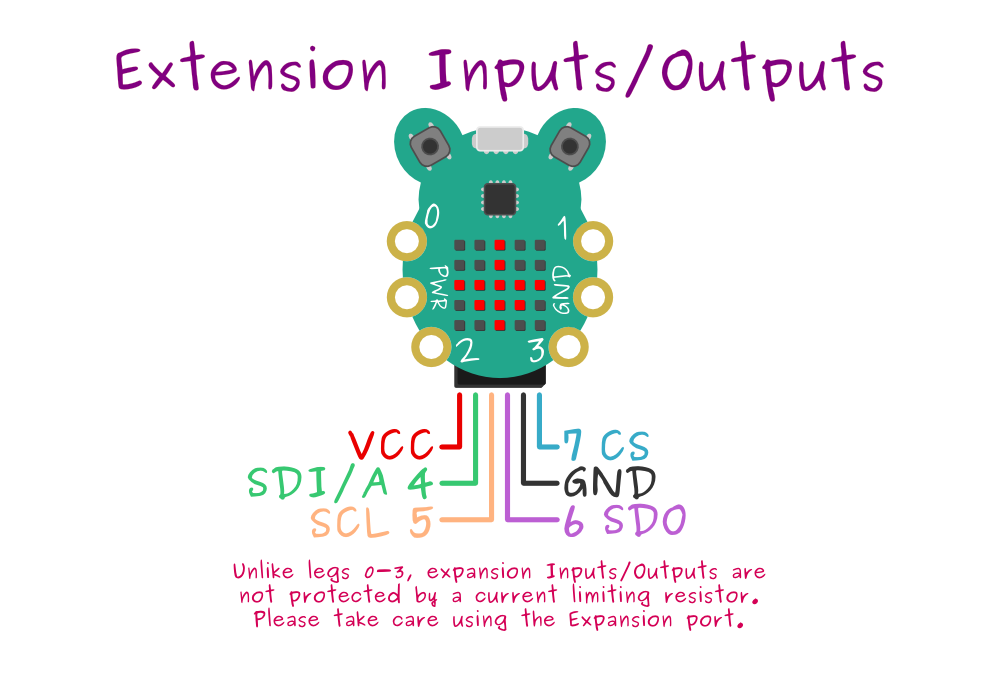
Have a go yourself at using the expansion port with the Servo activity or with this Movement sensing activity. Show us what you make with the expansion header on Twitter!
CodeBugs moves with servos!
- On April 28, 2016, 3:03 p.m.
- By Thomas Macpherson-Pope
As you may have noticed we've recently been adding loads of new features into CodeBug, including the abilities to make music, read analogue values and generate random numbers. Today we’re announcing another new feature: Servo control! Get started with this servo activity. “What is a servo?” we hear you ask.
A servo is a precise motor that can rotate a certain number of degrees (usually 180°) and it is great for making waving arms, cranes or even robots.
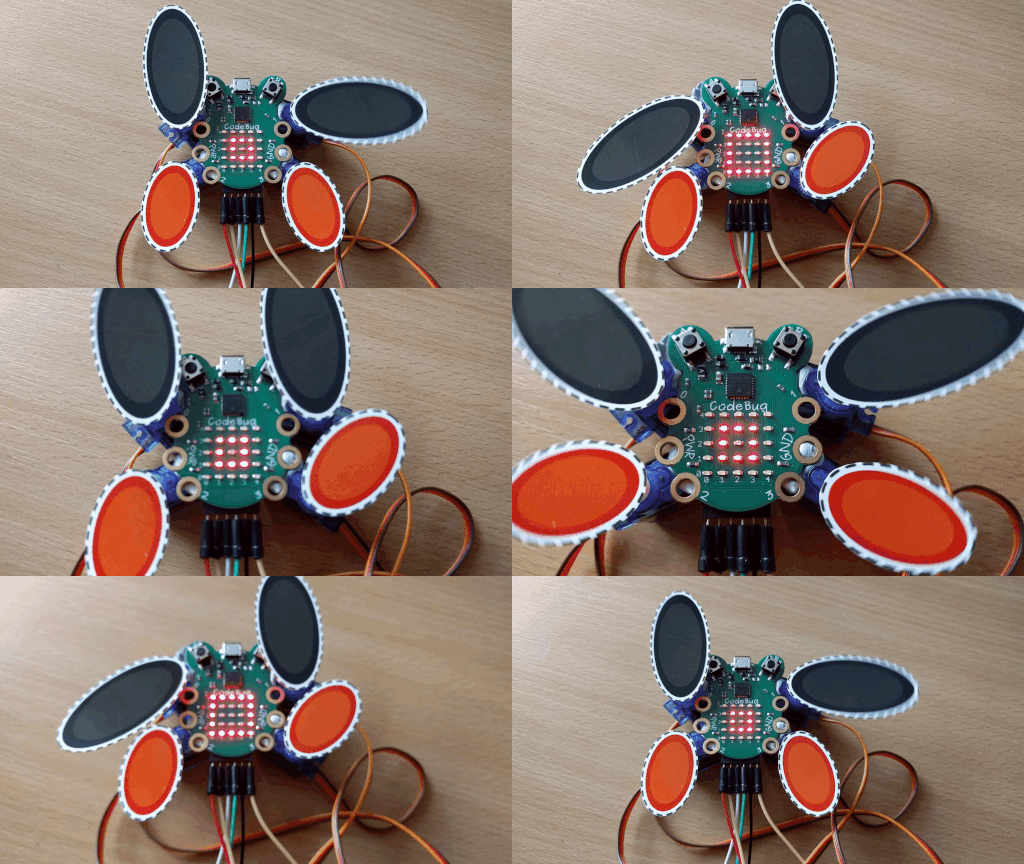
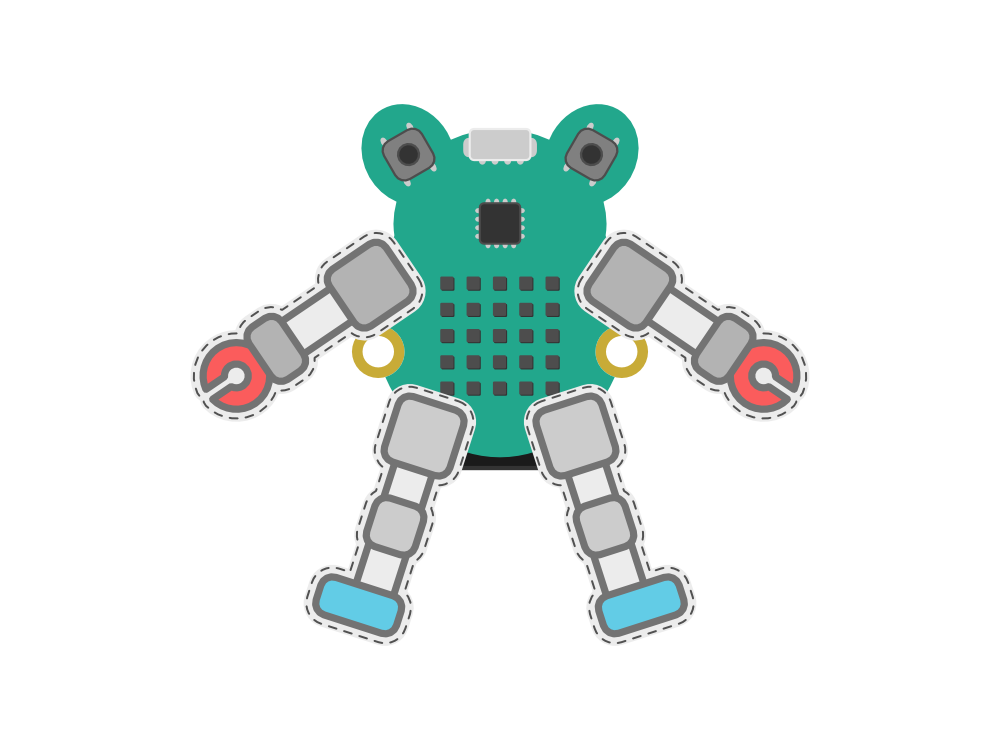
We had a go at making our own CodeBug penguin with colourful stick-on arms and legs. The servos rotate back and forth waving the card cutouts in a kind of crazy dance. Click here to print out your own!
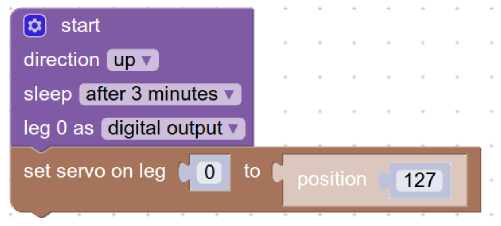
You can use servos by setting CodeBug's legs into digital output mode and adding a set servo block to your project from the new Servo block menu. You can use a servo on any of CodeBug's four legs (and also the extension pins, see below).
Another feature we've also added is the ability to control the extension pins from the block interface (you could always control them when tethering with Python). This means you can control up to 8 servos, although with this many you will need to power them separately. To use the expansion pins, click the blue cog on the start block and tick the checkbox next to extension pins input/output.
We are looking forward to seeing the amazing moving projects you create with these new features, please Tweet us the pictures :)